 1) Get the base ready: You can buy regular tin back badges at the market – then cost anywhere between Rs.6 – Rs.25 a badge depending on the pin thats used on it. I used smiley ones with a safety pin back for this project for they were easily available. If your badges dont have pins, you can add them easily. Use pliers to pull back the notches behind the badge, insert the pin and close.
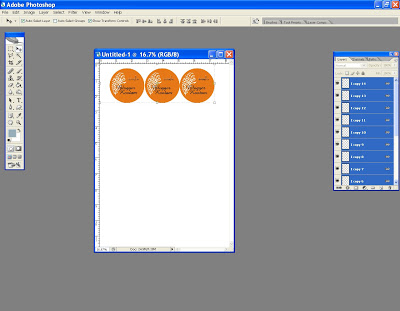
 6) Now Print them and cut them out with pinking shears on the edge so that only the tips are white
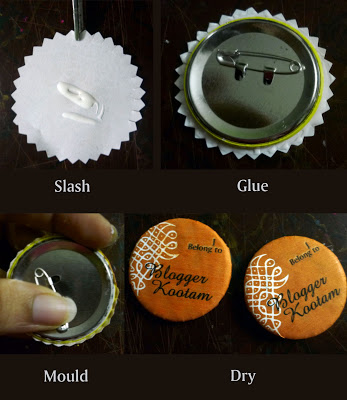
7) Now you have to slash the sides. From the tips till the actual line that with come on the badge. It is necessary to do this step, to make sure that you have a smooth circle covering.
It is not necessary to pink the circles, but it is helpful in guiding you how and where to slash.
While slashing also make sure that the cut is not visible on the front side
TIP# You might want to trace the badge on the back of the paper with pencil as a guide to slashing
8)Apply white glue, fevicol on the paper and drop the badge face down. It is easier this way rather than putting glue on the badge. You can move around the badge littleto make sure the artwork is the way you want on the badge. Now press to stick and smooth out any bubbles.
9) now press gently, mould the shape and stick back the excess on the backside. Press to even out creases and air bubbles. Since you have slashed it, you will get a very good shape.
10)Now the hardest part – Wait till it dries completely!!!!
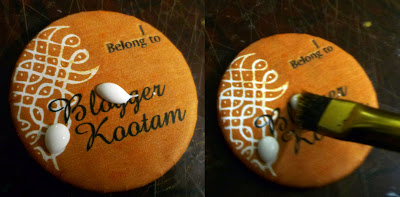
11) Once dried, apply 2-3 coats of any decoupage medium on the top and on the side, waiting to dry it in between coats. Coat with a brush in one direction with even pressure so that no streaks are visible….
12) Its Done!! Wear and enjoy!!
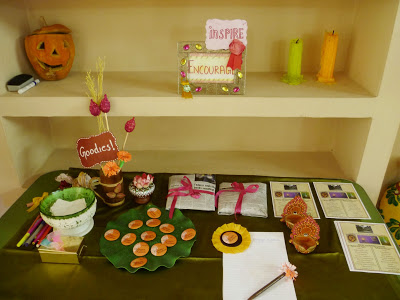
When I made it I realised that this idea has a lot of potential. It could be used for different craft clubs (members can make it themselves at a meet!!), book clubs – maybe with the initial of a member, scout groups and other meets and clubs…!!! Here is the picture of the table arrangement I did at the meet..!!
I hope you all found this tutorial interesting and useful
Waiting to hear from you
Cheers



Leave a Reply