
As Designers and crafters we all participate in Craft Fairs & exhibitions as it is one of the best and cheapest ways to understand the market, gauge it and eventually sell our designs. There are millions of posts on net talking about how one should attend exhibitions, what sort of displays to make, DIY posts detailing packaging, cards, banners etc. Most of it is great advice but the more exhibitions I attend the more I realise that many practical issues where never covered in these posts. So here is my list of 5 Tips for great displays at craft fairs
5 Tips for great displays at craft fairs
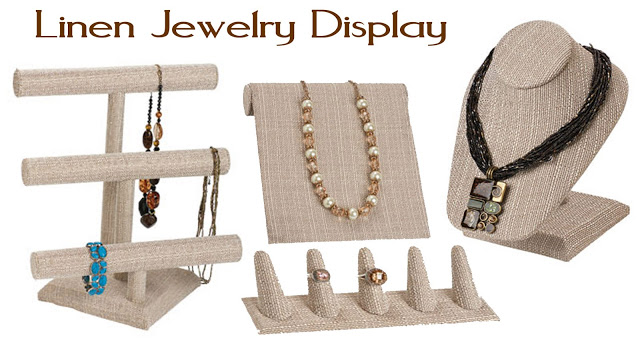
1) Use Clean & sturdy multi level displays: I love having interesting displays at exhibitions and I have tried everything from forms and busts to DIY earring holders and ring containers and have been frustrated with all of them. Its an easy guess that white forms and busts show off jewelry the best, but they get dirty very easily. Thats why, These days I am loving options like jute and linen. Also a good display cannot be at just one level. But as tempting as it is to put up more vertical displays to conserve space, I have learnt not to do it the hard way. A gush of wind or an excited child runs to your stall to grab a colorful bracelet, everything tumbles on to the floor, leaving behind broken beads and bent clasps. So my rule of thumb is – (a) not to use displays that are more than 8″ in height (b) put unbreakable items on vertical display and breakable precious one on slopes or flat ground
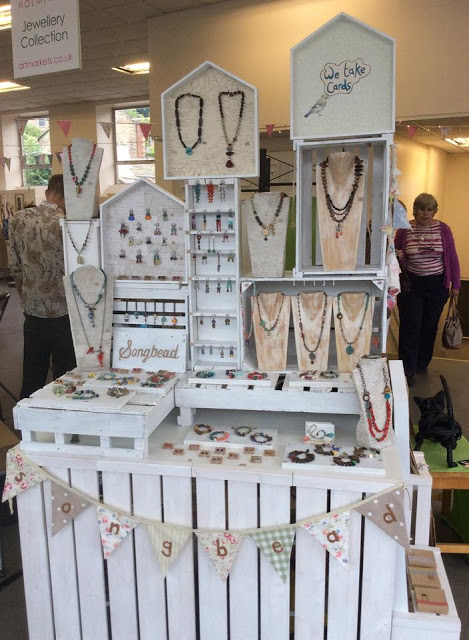
2) Customize your space – color it up: Unless you are paying big bucks, and you are displaying in a high end gallery, there is going to be no ambience. The truth is most of the time we just get a table, a measly white table cloth with not even a wall to support our banners behind us. So what do we do? Instead of putting the logo banner on the table, try putting it up like a bunting. A Pennant string trim attached to a 5″ wide logo strip will give your stall a celebratory feel. You can customize the colors to match your logo.You can also use a silk timing in the color of your choice around your table edges – maybe a nice teal or rustic brown?!
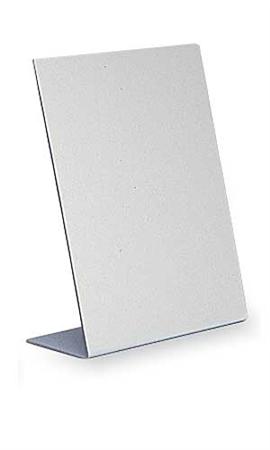
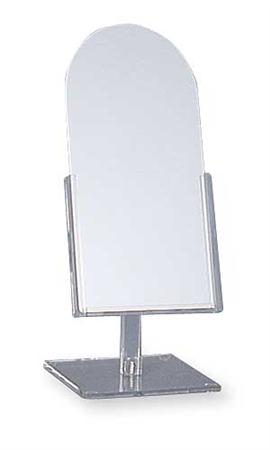
3) Have a Mirror: I tell my students this every time they do a retail store visual merchandising product – Please have a mirror!! People (women) like to look at themselves looking beautiful, they need to see how the stole drapes or the earring lights up their face. Yes a bigger mirror is always better, if there is a wall close by hang one at eye level. If not you can put one on your table – that which has a handle and can be easily lifted and held in one hand. Decorative mirrors can be used as displays too
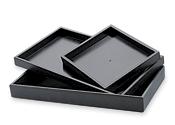
4) Have Trays or checkout out baskets: When you hand out a tray or a check out basket to a customer you are not only giving them a container to hold their purchases, you are emotionally making them shop for more items at your store. So capitalise on it!
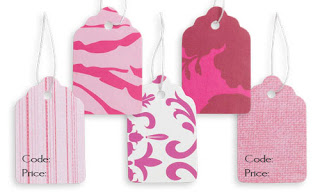
5) List your price in the brand Tag: Many of us sell wholesale, retail as well as direct so I understand that its not easy to print a price directly onto your brand tag as you dont know who your buyer is going to be. But dont let that stop you from putting a price on the tag, atleast in pencil. Believe me, its easier to give some a discount from a retail price tag rather than referring to a price sheet everytime a buyer asks for a price. Pick up cute printed tags here and stamp out your price and brand name on them.
Those are my top tips for now. If you have any more tips or experiences to share, do post in the comments section. I love reading all your comments.
I hope you find it interesting
cheers

Leave a Reply