
For someone who is not so big on traditions, I am big on traditions when it comes to my blog. February is a special month for JewelsofSayuri as it is anniversary month. But I will be MIA for most of the month and hence will not be doing elaborate posts for the anniversary or participating in as many challenges as I would have liked to. However, I will not let it disappoint me for I will still follow one February ritual a.k.a Valentine’s Day Jewellery tutorial post. This Filigree Flower Ring Tutorial checks all of my boxes for Valentine’s day tutorial – it is pink but quirky, its jewellery, and it is very easy to make. Do try it out!

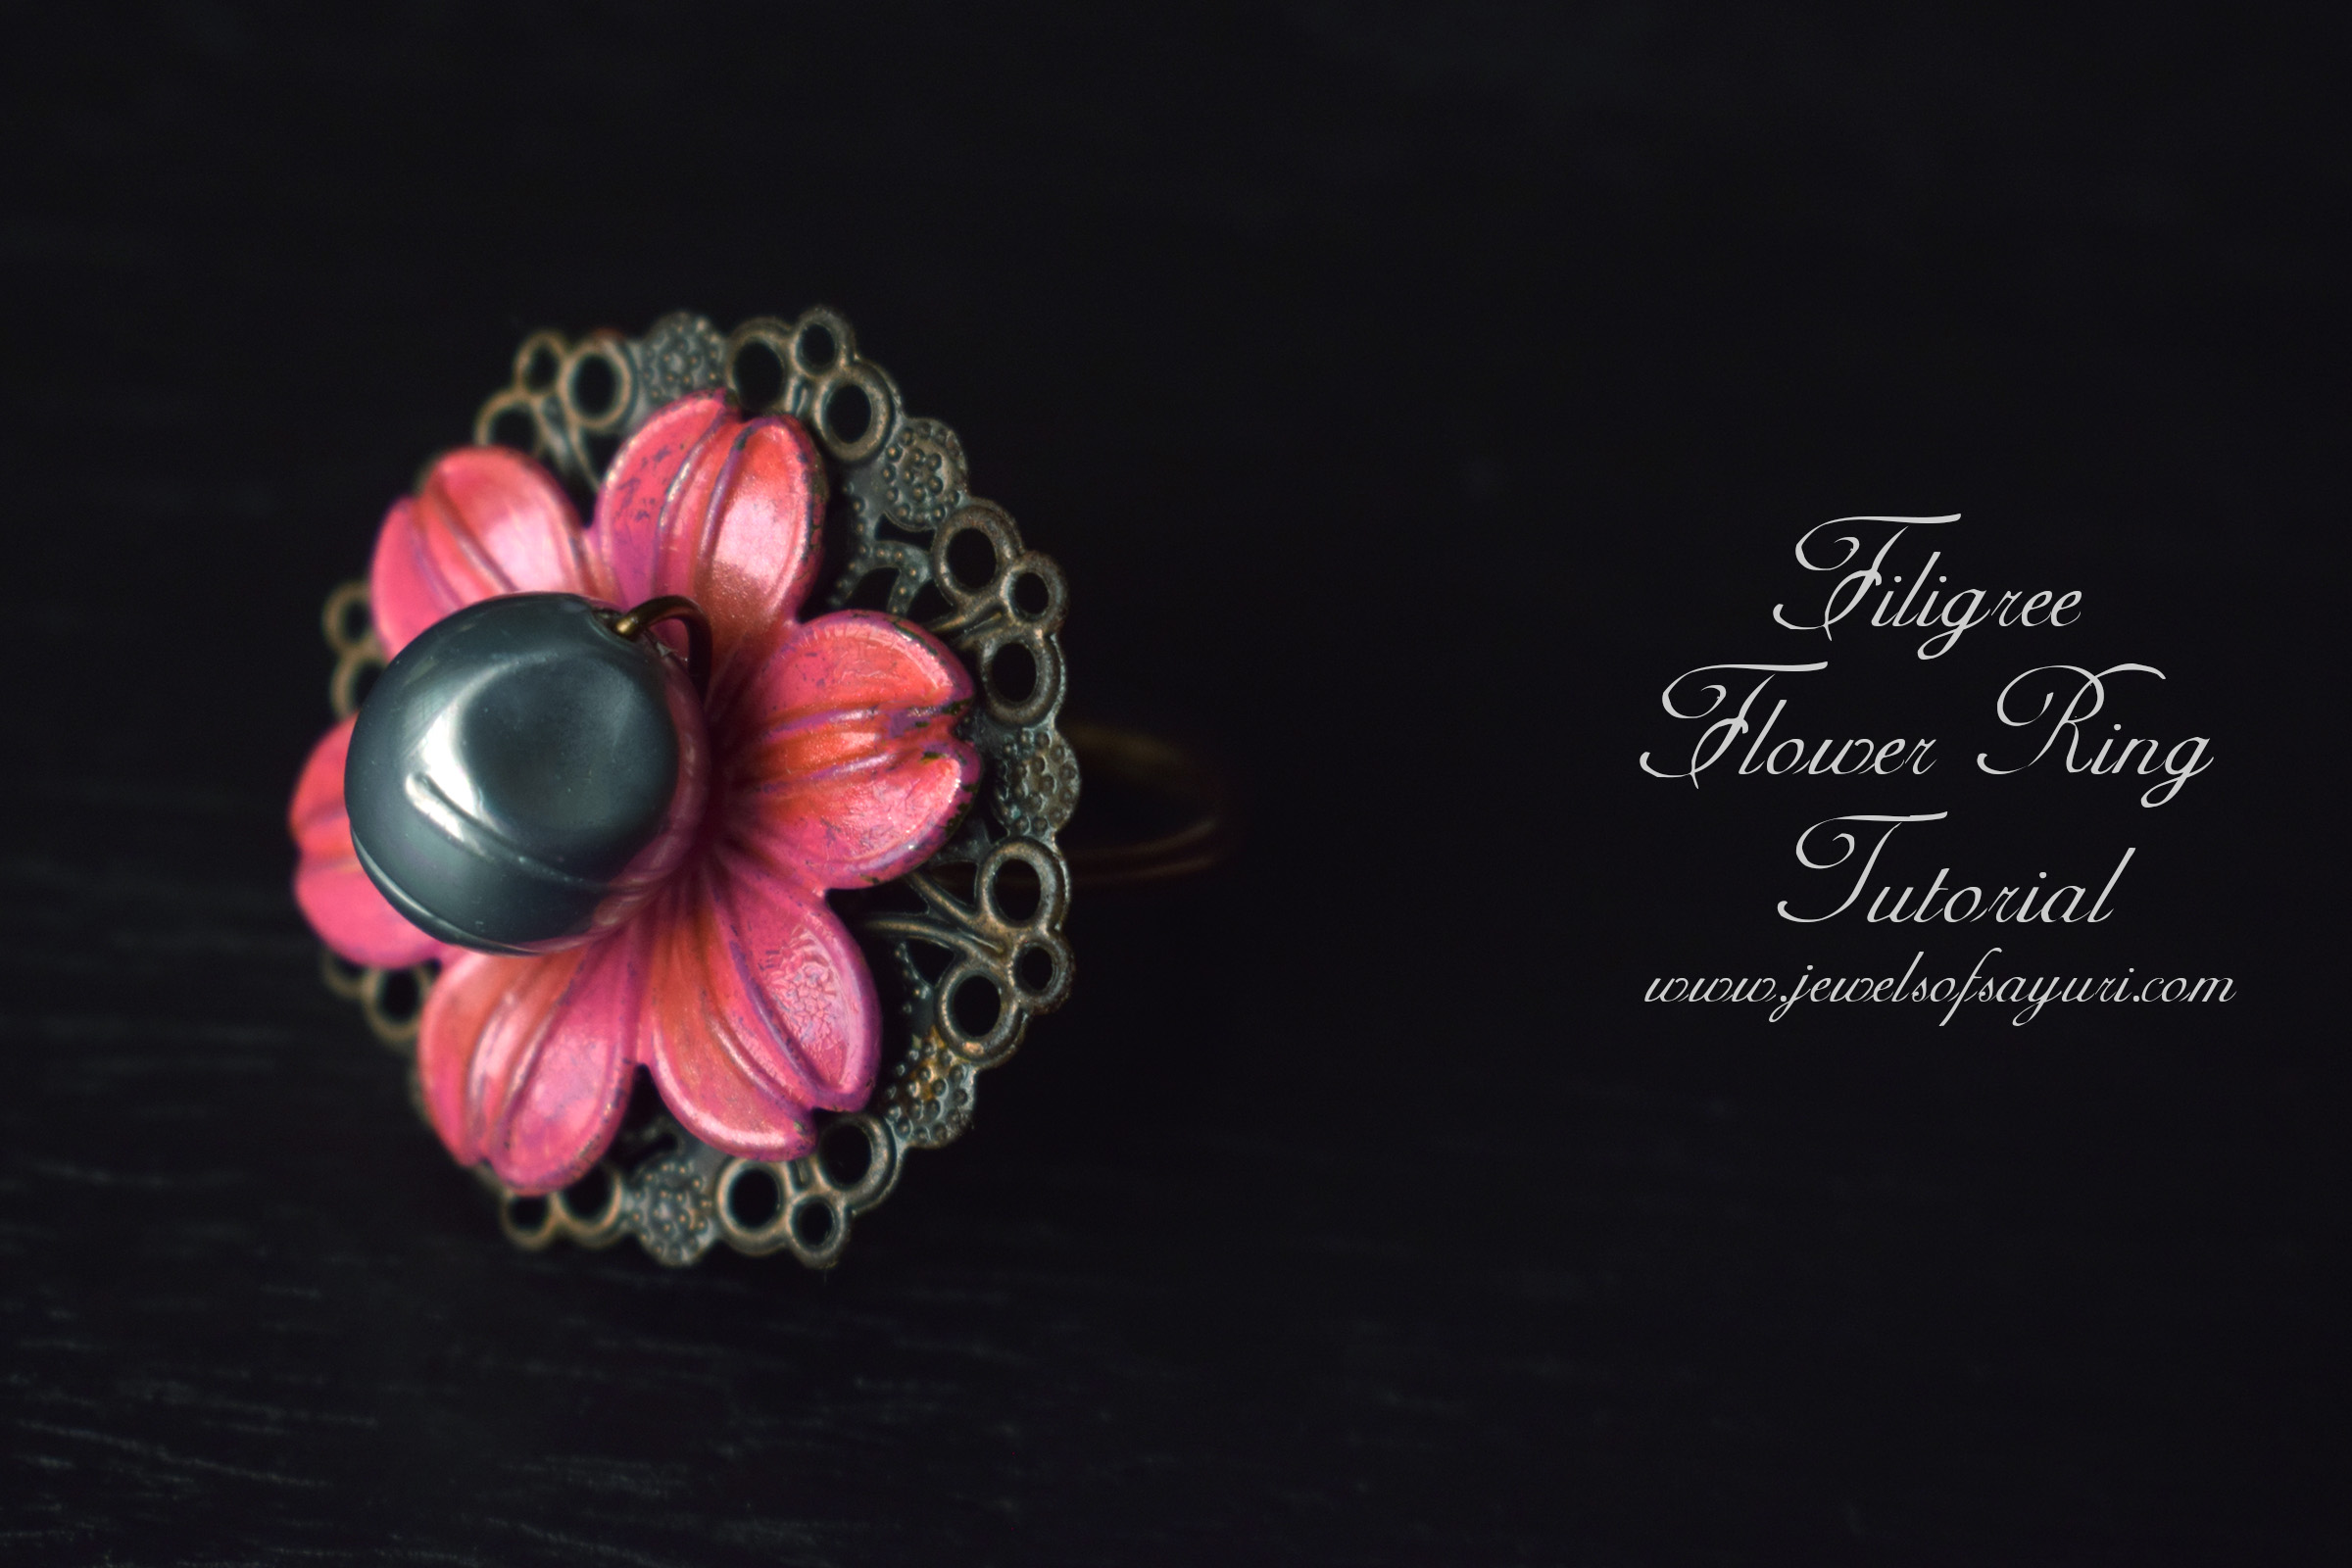
Filigree Flower Ring Tutorial for Valentine’s Day
Apart from earrings I regularly wear statement rings. They fascinate those who I meet and people often ask me how I go about my day with them. I actually find them quite manageable even when I wear them on my right hand but I do switch them to the left side, if they are too bothersome. One rule of thumb I follow when I make rings is about their height – a manageable 0.75 inches at the max. I do have rings that are 1.5 inches and more but I rarely wear them.
I am not a fan of stacking rings on the same finger but occasionally wear more than one at the same time. The wired one in the pictures in this post is an old store bought ring. I refurbished it with leftover pink patina ink while making the Filigree Flower Ring. Together they make quite the quirky duo. Don’t they?

Filigree Flower Ring Tutorial
When I got the idea to make this ring, I was so excited by the materials that I made a tutorial for it. It uses some of my favourite supplies like metal components (incl filigree), patina ink, nail polish, and shell pearl. While this ring is easy to do, it requires basic wire work skills like wrapping and working with a ring mandrel which puts it in the intermediate skill zone.

Materials
-
- 1.5″ Round Filigree component in Antique brass
- Golden flower component
- Shell bead in Steel gray
- Patina ink – fire opal
- Shimmer Nail polish – living coral
- Patina sealer, extender and gloss
- Artisan wire – antique brass 20g
- Tools – nose pliers, wire cutter, ring mandrel, paint brush

Method
- Apply Fire opal Patina on the Floral component. Let dry. Apply Living coral nail polish on selected portions to highlight the segments. Seal with Vintaj Patina Sealer and gloss. Let it Dry.
- String the shell bead on Artistic wire and bend as shown in the picture below. It must be a just fit to the bead.
- Stack the painted flower component on the filigree component and thread the wire with the bead through it. Make sure that you have a snug fit.
- Turn to the back and fold both ends of the wire so that it remains close to the base.
- Keep the stack at the required mark on your ring mandrel (corresponding to your ring size) and wrap the wire.
- When you complete atleast two wraps around the mandrel, spiral it around the base at the point where the wire comes out of the filigree focal.
- Check the size once again on the mandrel and make adjustments as required.
- Wrap the ends of the ring (close to the base) twice or thrice. Cut the excess wire and tuck it in

Tips & Musings
I have used Living coral colour in the form of nail polish as I happened to have it on hand. Vintaj has a coral patina ink that you can use, especially if you do not want shimmer on your ring. Also, I prefer to make the rings that I wear as non-adjustable knowing the wear and tear they go through. But you can make them adjustable as well.
Now, that we have come to the end of this post, you might wonder what is the connection between this tutorial and Valentine’s day. One of the important lessons that I learned in the last two months is that there is a lot of hate and insecurity in this world. People will go out of their way to spoil your happiness. The only way to get past it is to love and appreciate yourself. This ring is to show my appreciation for me. Sharing it with the world is my way of self-affirmation of my self, my values, and my love.
So use the tutorial to make a ring (or more) for yourself. Gift it to someone who is in need of love or sell it. Enjoy it and have a happy everyday.

I hope you find it interesting
Cheers

7 responses to “Filigree Flower Ring Tutorial”
That’s a funky colorful ring, Divya! You’re right, we have to give ourselves small happy gifts 🙂
Thanks Rozantia, I am so excited by this fire opal patina that I bought. I am using it all the time
Both rings are beautiful Divya! Thank you for the tutorial.
I also love statement rings and have them in a great variety, but sadly I have hardly worn them lately…
Thanks Maya, you should wear and enjoy them more often. Maybe wear them to school someday, your students might find looking at them fanciful.
Happy anniversary.
Even I don’t wear rings.
I have some filigree components. I now know, what to make with those.
Thanks for the tutorial.
Thansk Ranjana..do try it out
[…] is a Easy to make stacked metal ring. This handmade jewelry tutorial shows you how to stack jewelry findings to create this dimensional ring.… Read […]