
Art elements, a group that I am a part of boasts of some incredibly talented women. They can paint, embroider, sculpt, felt, weave, make jewellery, make dolls and dress them up. Whenever, I participate in one of their monthly challenges, I feel like I ought to do a lot more than jewellery making. Afterall, a long time ago, I used to “other things” as well. Somewhere, last year, I was determined (heavily influenced by the said group posts) to learn how to weave. I did succeed. I made a woollen scarf.
Does it have many many flaws? Yes, it does. But did I come out of my comfort zone and actually finish making it? Yes, I did. This year I set myself this challenge of making dolls (yes plural). I wasn’t planning to do a full-on Golu (in fact I was totally against putting up any type of display). But I wanted to attempt making dolls. I didn’t know at that point how to go about it. Until, I went to an exhibition organised by the Sanskriti Doll makers association which encourages people to make hand made dolls. I saw a demo there and there came across a counter selling doll faces, hand and feet parts. I thought that I could make one. True to my usual self, I did not follow the demo nor use the parts the way they were supposed to be used in my work. Still, I finished making a doll using a plastic bottle.

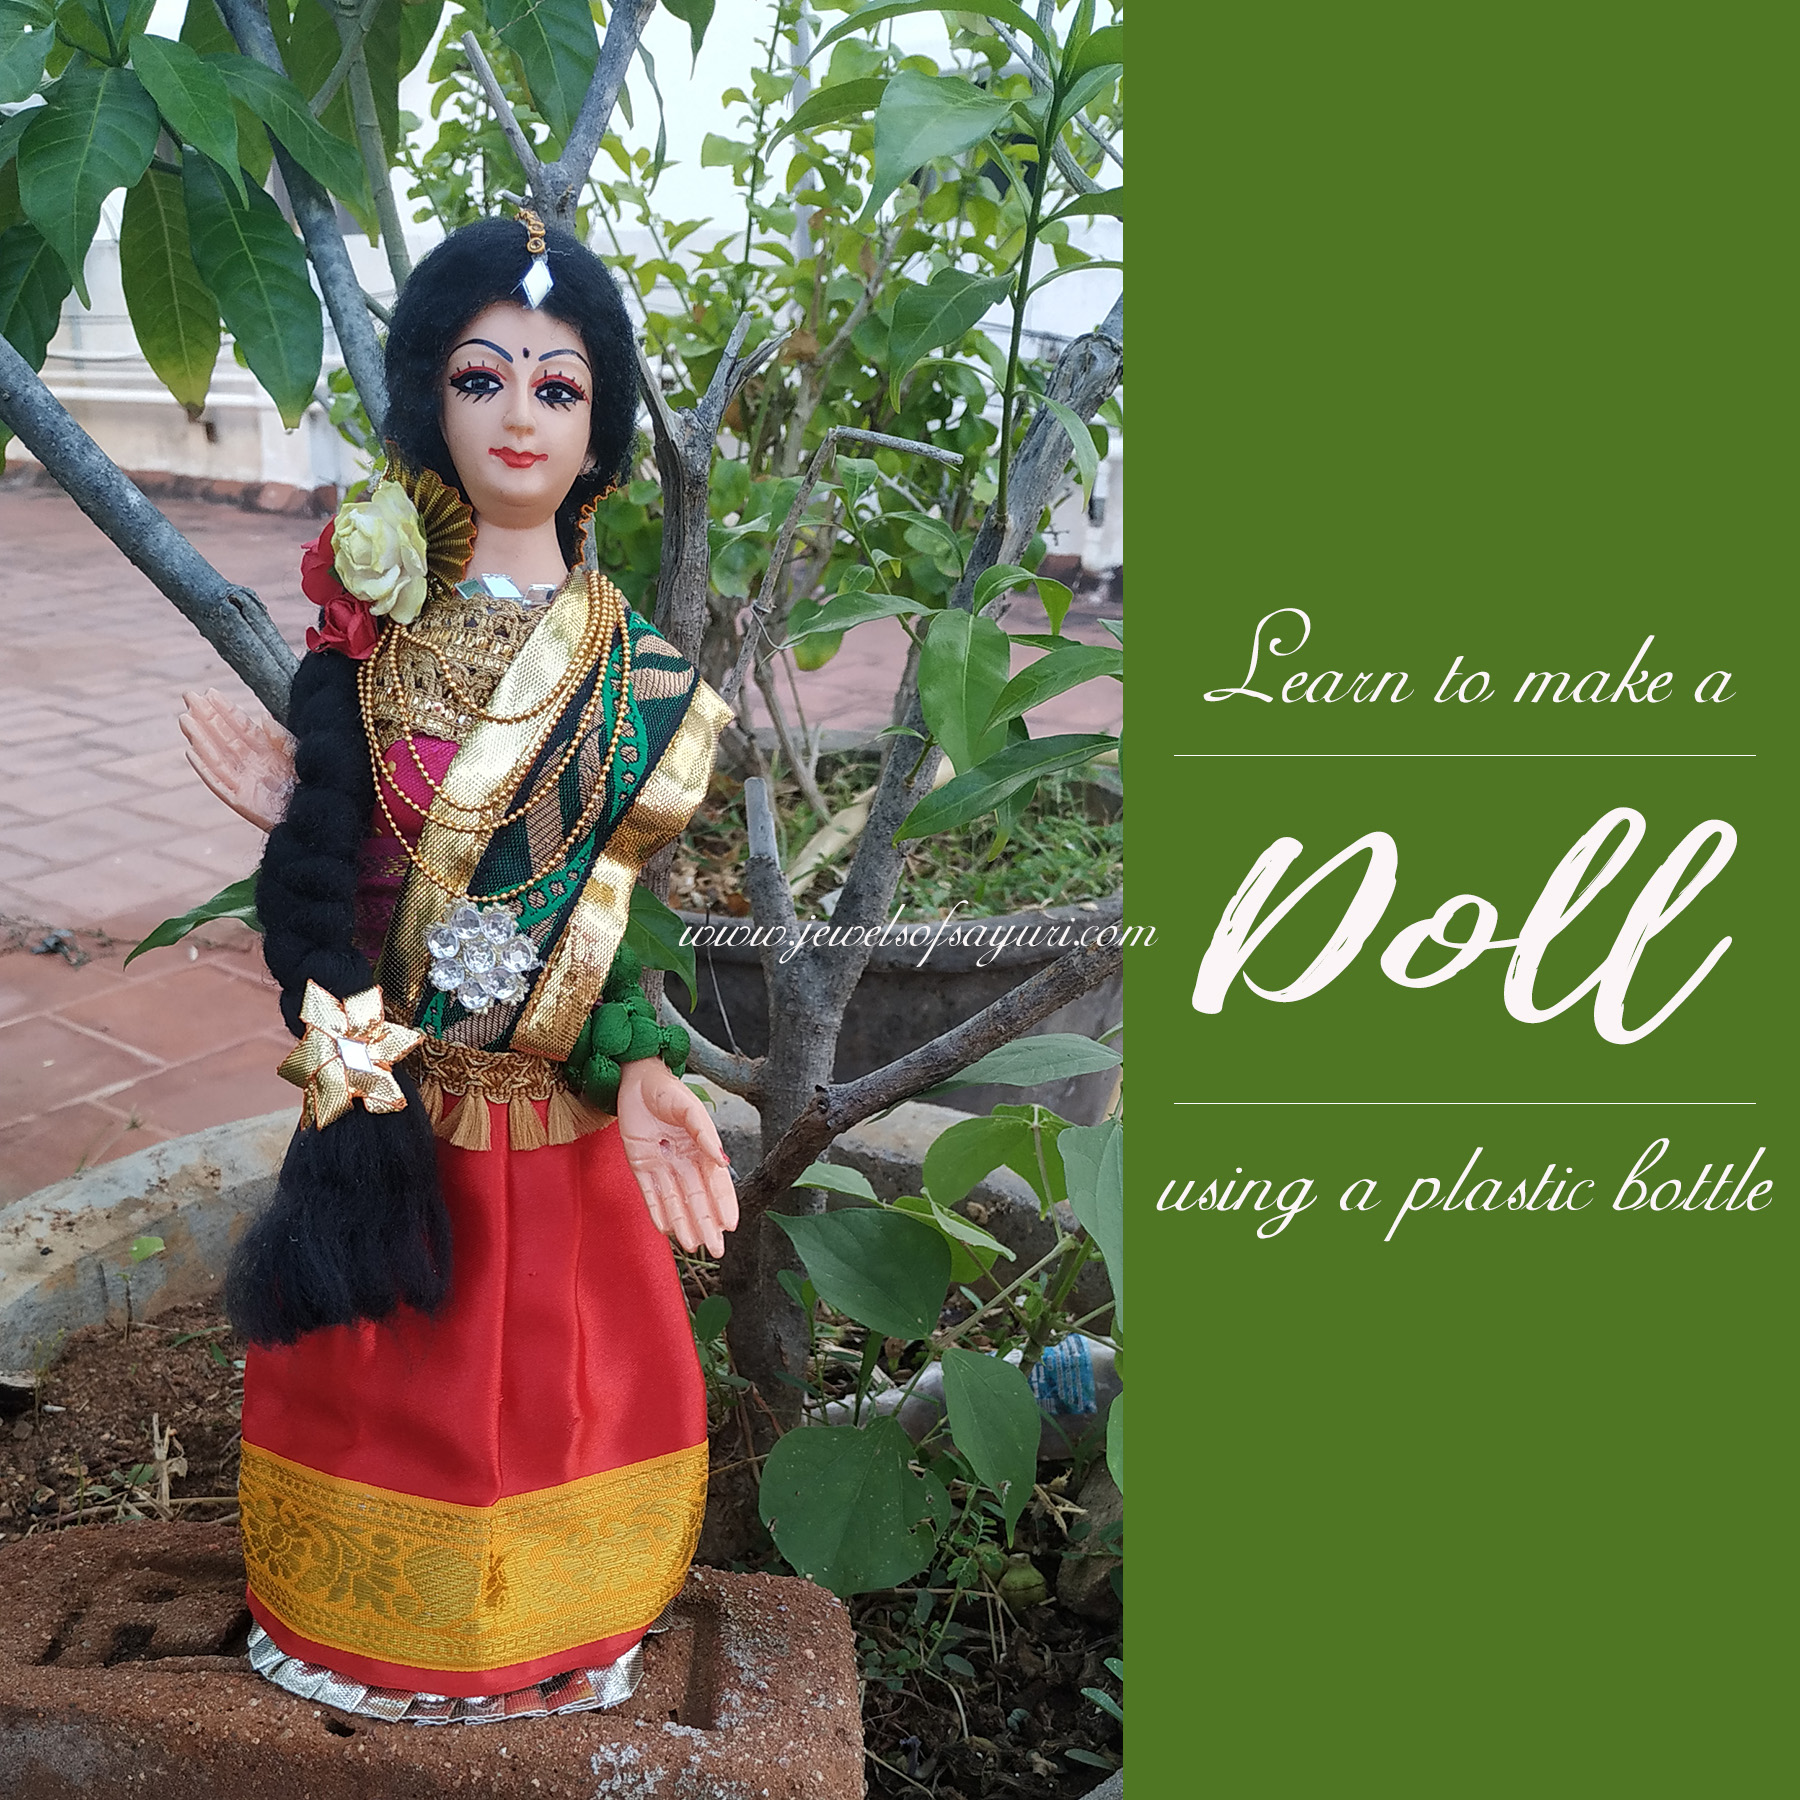
How to make a doll using a plastic bottle
This project is all about recycling. I took a bottle whose cap was broken, some plastic beads that I haven’t used in a long time, used garments of idols, wire, and some embellishments and made a doll. I did buy a kit that had the doll head, black hair, hands and feet. Here are the steps with photographs for a few of them so that you could try your hand at it, if you wish to. This is not an exact tutorial with measurements as I was just eye balling it. However, it will give you a clear idea of how to make a doll using a plastic bottle and old beads.
Materials
- A doll head
- Matching doll hands
- Black acrylic fibre/artificial hair
- Teardrop shaped plastic bottle proportional to the size of the doll head (mine was 700ml bottle)
- Beads/pebbles to fill the bottle
- 16g or 18g wire – copper, steel or brass
- White or skin colour fabric
- Bits of coloured fabric – cotton, polyester, silk (garments meant for deities can be used as well)
- fabric glue and/glue gun
- Embellishments
- Permanent markers – red and black
- Tools – Scissors, Old knife or cutter, sewing needle, sewing thread (several colours)
Method
You can approach the doll in two ways. One make the base, follow through with clothing, and accessories and finally do hair and makeup. The second way is to make the head – complete with hair, makeup, jewellery and then fixing it on the body. Now, I did a mix of two as I was just making things up as I went ahead. In hindsight, I would go with method number one. Here, I am writing the steps in the order of how I did them to coordinate with the pictures.
Set the hair
- Cut artificial hair fibres to the required length. You will need the first 3-4 inches to cover the doll head (depending on the size). Glue this to the scalp. Use can use glue gun or a rubber adhesive – both are equally messy and require patience. Fabric glue/modpodge did not work for me. It took a long time to dry, most fibres came lose and some were streaked white.
- Once the hair is firmly adhered, Create whatever hairstyle that you want. I braided the hair for this this doll. The second one (UFO) has a side ponytail. My hairstyle looked weird from the side. Also, the ears were too small to add earrings. So I glued two gota pieces (fabric embellishments) to finish it better increase the appeal.


Making the Base
- Heat the cutter and cut off the neck of the bottle. Further smooth the cut edge with a hot knife/cutter.
- Fill the bottle with pebbles or mixed plastic beads up to the brim.
- Wire the doll head with a 4-5 inch 16g or 18g wire and bend it to go from front to back through the holes on the neck. Glue the doll head to the bottle using a glue gun. Glue the wire as well, adding stability to the joint.
- Wire the palms. I wired both my feet and palms for use at this stage but I only used the palms and not the feet. Unfortunately, I only have a photo of the wire feet as seen in the above image. Follow the same idea for the palms while allowing a longer tail to be trimmed when attaching.

Dressing the doll
- The first step to create breasts and a slight padding for the back using white fabric. You can fold a long strip and do a butterfly twist in the center to add volume.
- Position the hands however you want and glue them. You can also cut another piece of wire (24g or 26g) and wrap the hands to the bottle.The hand posture of my doll is typical to Goddess (or God). It symbolises protection (on the right) and grant of blessings/boons on the left.
- Glue the hair forward to cover the left hand. You can see from the center image that both my palms were of different sizes. In order to camouflage it and to give an impression of a sleeve, I used some knotted thread on the left hand.
- Dress the doll however you want. I wanted to use readily available, used garments that previously adorned deities in my house. So I selected pieces of what I wanted, trimmed them with lace and embellished them as required. I made an attire of a Ghagra-choli-dupatta (skirt, blouse, and scarf). I stiffened the dupatta using ribbon to make it stand stiff at shoulder level. The skirt had a gauze lining, otherwise it would need stiffening as well.
Makeup and Accessories
 Makeup and Accessories
You can add bits of chain, sequins, pieces of mirror to complete the doll making process. Use similar findings/trims to get a cohesive look. The rest of this tutorial are about how I decorated this doll. All these steps are optional.
Hair and Makeup
Though the hands symbolise a Godlike posture, I wanted my doll to just look pretty. Given the length of her hair and the loose pining of her dupatta, she reminded me of 70s-80s film heroines donning the role of young graduates or homemakers. I took such visuals as references for my doll’s hair and makeup.
- Colour her lips with a red marker and add black lines around her eyes to represent Kohl (kajal) lined eyes. Add a bindi-dot.
- Without the partition, the hair looks unnatural. In order to create an illusion of hair partion, add a forehead ornament.
- Add paper/fabric flowers to the side of the hair. This add panache to the doll while adding to the illusion of a shoulder.

Up until this point, my doll was not a specific character. But, as my golu ideas grew, I need a doll to look like Andal, the saint-poetess of Srivilliputhur. After much deliberation, I simply added a parrot bead to her left shoulder to get her into character. Here is how the doll looked in my Navaratri golu setting and yellow lights.

My second doll is just 2 knitting needles, a doll head, and a tiny pillow at this point. I hope to finish making it as well. In, the meanwhile, I would love to hear your comments, tips, and experiences with regard to doll making.

10 responses to “How to make a doll using a plastic bottle”
Art Elements are so inspiring, aren’t they! The doll turned out beautiful and unique! It is obvious you’ve been driven by inspiration to perfect it to the smallest detail! I love the dress and the note about the hair partition 🙂
Thank you. I do love how this doll turned out and I hope the second one as as pretty as this one.
Wow! You did create an amazing doll!
Thank You so much
I’ve never done any doll-making and really have never had much interest in it, but you make everything seem a bit more interesting. You definitely took pains to get your doll just right. I would have never imagined that there was a bottle under all that. Great way to upcycled!
Thanks Hope. It was quite simple to use a bottle and get the right shape. I used to make bottle dolls (and other crazy decor pieces) as a kid. Summer holidays meant crafting and there was always a glass bottle around to upcycle. However, by far this is the prettiest doll that I have made.
These are beautiful! Love the care taken into details, shows the effort you have taken! 🙂
Thanks Deepa, Try it out sometime
Beautiful decoration & Doll . My sister was making same dolls in my childhood.
Thank you, please do try it out as well