
I hope all of you are safe and feeling well. In a span of 3-4 weeks our lives have been turned around, making us appreciate simple pleasures in life. I read a post on Facebook that said, “If you do not come out the this lock down with a new skill, new side hustle and new found knowledge, then it shows you that you never lacked the time, only discipline.” While I have not created a new side hustle I have been focusing on the other two. In the spirit on teaching and learning, I have put together a tutorial on making a Denim cord necklace. I hope you enjoy reading it and making it

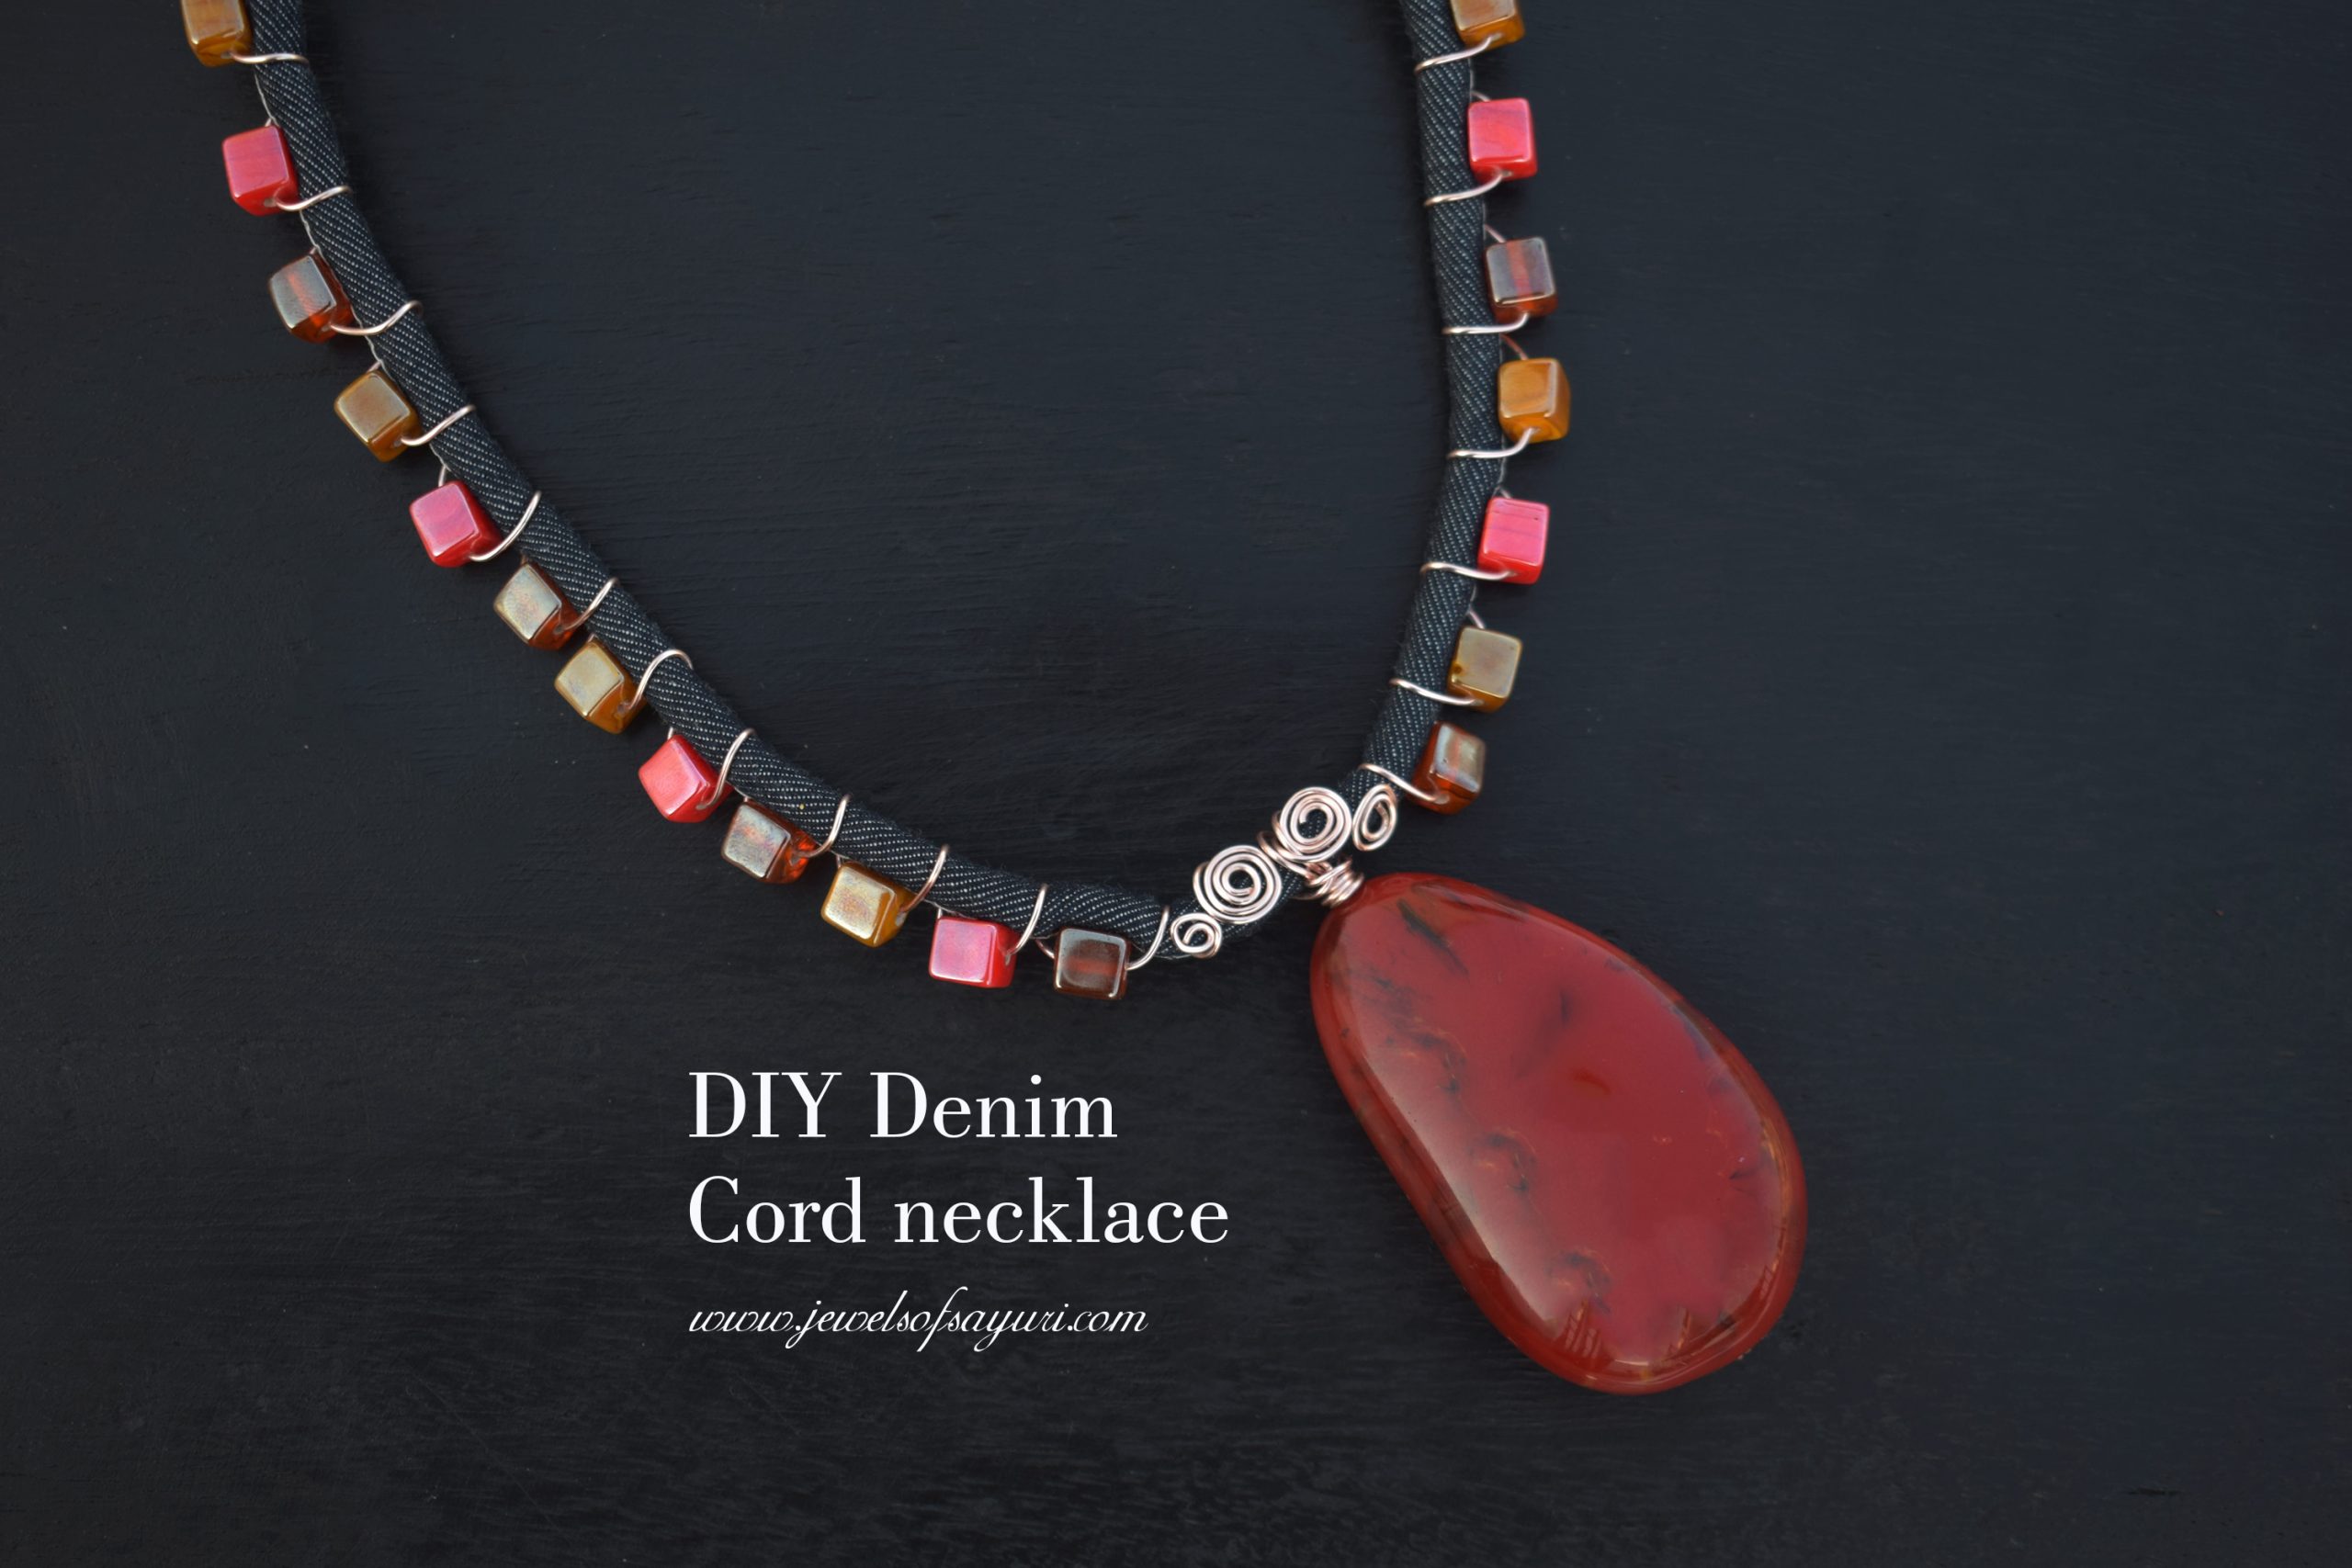
Denim cord necklace tutorial
This Denim cord necklace is a part of my exploration of jewellery techniques. I have played with juxtaposition in this piece. A stiff dark denim cord contrasts with the soft wrap of a light coloured wire, the cubes contrasts with the organic pendant and the swirls on it in terms of shapes. Furthermore, the shiny beads provides the perfect foil to the otherwise matt cord. While this tutorial specifies denim cord, you can use any jewellery cord to make it. Since my beads are cubes they sit snugly on the 5mm cord. But rounds may work just as well.
Materials
- 5mm denim cord
- 20g artistic wire – rose gold
- Reddish brown coated cube beads – 10
- Mustard cube beads – 9
- Bright Red coated cube beads – 8
- Deep Red mango seed shaped bead – 1
- Pewter cord ends – 2
- Silver tone clasp – 1
- Silver tone jumprings – 2
- Rubber Adhesive
- Step nose pliers, chain nose pliers and wire cutters

Method
- Cut about 21 inches of denim cord.
- Gather all the beads that you want to use and arrange them in the pattern that you want to place them. This makes the wrapping really fast as you don’t have to stop and think about the arrangement after every wrap.
- Cut about two pieces of 20″ of wire (I eyeballed it as usual, oops!). Using your step nose or bail forming pliers (choose one that is closest to your cord diameter and coil the wire 2-3 times.
- Slide the coil in without cutting the wire. Press the shorter end into the cord as you would do with a cord end.
- Add the first bead and wrap tight twice. Add the next bead and wrap. From now on till you reach the center, you need to only wrap once for each bead. Stop wrapping 0.75″ from the center point and do not cut the excess wire Repeat for the other side.

Finishing
- You must have about 2 inches of tail on each side. Spiral it inwards for a decorative finish in the center.
- Make the headpin – Cut 9 Inches of wire. Make a loop in the centre. Bend and crisscross the wires to create another turn around the loop. Pinch the wires at the point they come together.
- Make the pendant – Add the bead to the headpin. Bend the wire 6-7mm before the spiral to make a claw. Press this to the back of the bead to hold it. (Sorry my bead spun around while I took this picture; the spiral does go on the back).

4. Wrap the headpin wire on the cord 2 times and then wrap around the neck to secure the wires. Do not cut the ends but spiral and press them to the cord to create a decorate front. See the close up above.
5. Using pliers and jump rings add the ends of your chosen clasp to the cord ends.
6. Apply glue to the insides of the end caps and glue them to the cord ends. Let it dry for 30 minutes. Your Denim cord necklace is complete.

I hope you enjoyed reading this Denim cord necklace tutorial. Please comment and share the tutorial on social media as well. You can find more cord based jewellery tutorials here.
You could also sign up for Bluprint (previously Craftsy) if you haven’t already done so. They are giving away free classes in sewing, knitting, photography, paper crafts, cooking, embroidery, painting and ofcourse jewellery, making.
Take care and stay safe at home
Cheers

8 responses to “Denim cord necklace tutorial”
As I found out myself, a tutorial like this one may trigger one’s creativity 🙂 The tip about using cubes is very useful. I can see so many variations to this design! Thanks, Divya!
This was meant for a wire work beginner. An expert like you can do so many more variations with it.
this is very cool thanks for sharing love the colors you chose as well
come see us at http://shopannies.blogspot.com
Thanks Angie
Very cool idea! Pinning.
Michelle
http://mybijoulifeonline.com
Thank you Michelle.
It looks lovely and that wire certainly contributes greatly to the contrast! Thank you for sharing!
Thanks Maya, I took a chance with the contrast and it works.