
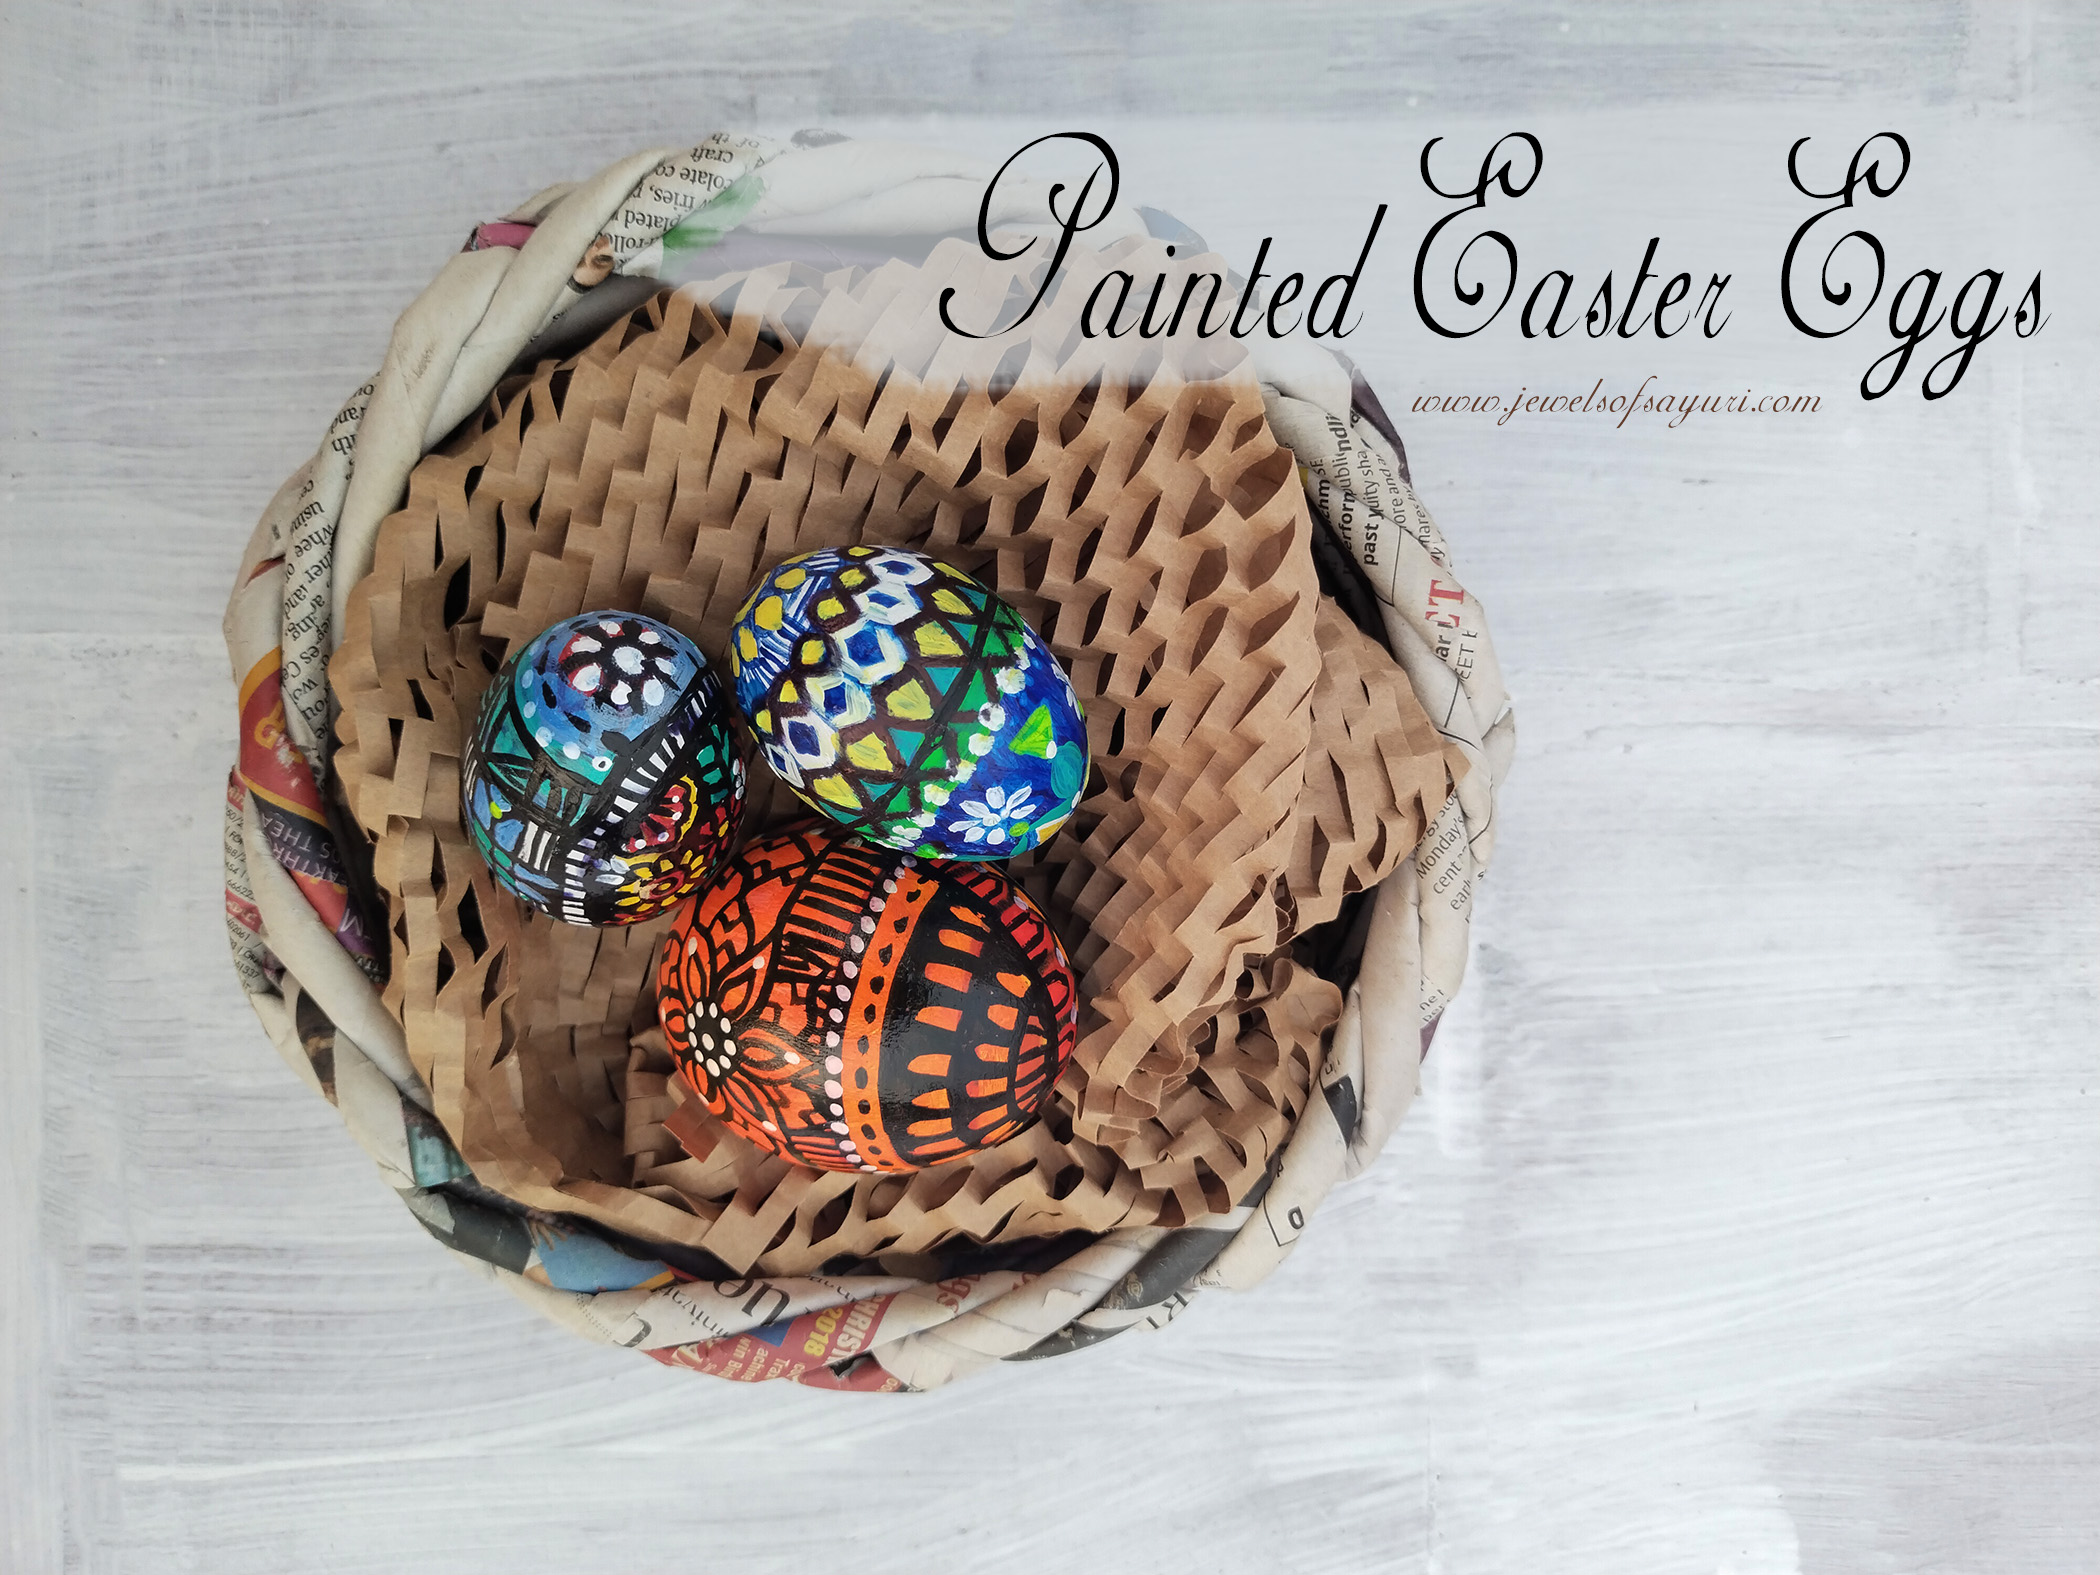
For as long as I can remember, I have wanted to create Painted Easter Eggs. I even remember pestering my mom to buy and clean real eggs so that I could paint them as a kid. Even though we are vegetarians, my mom used it as a ploy to get me to eat eggs, as I was a sickly child. Since I hate the smell of protein and hate eggs overall that went south very quickly. Over the years, I have tried different ways of making fake eggs – paper machie, clay, etc but none of them worked. After gazing at beautifully painted Easter eggs on the blogosphere, this year, I decided to get faux eggs and paint them. I found beautifully made wooden eggs at a local furniture store and tried my hand at painting them. Here are my experiments.
Easter Eggs
Eggs are carriers of life and symbolise birth, rebirth and fertility. Therefore, scenes from nature, images of plants, seeds and herbs are painted on the eggs to honour nature and the life it bestows. The symbolism extends with the bunny rabbit and the Easter basket. Then the eggs came to represent a sweet, hidden treasure. Joy that is to be found from going on a journey to look for answers. From a Christian perspective, the finding and breaking of eggs represent resurrections. Over the course of years, this translated into a kids Easter egg hunt.
Myths and symbolism aside I set out to paint some wooden eggs for art’s sake. I came across a lot of inspiration of the web. Have you seen gorgeously decorated Ukranian Pysanky? Making the Pysanky is an elaborate process and details are intricate. I also came across painted eggs from many other Eastern European countries without have their own style in painting/dyeing eggs. Knowing well that I couldn’t replicate that level of fineness and detailing in my eggs but I tried incorporating nature scenes and floral imagery.
Painted Easter Eggs
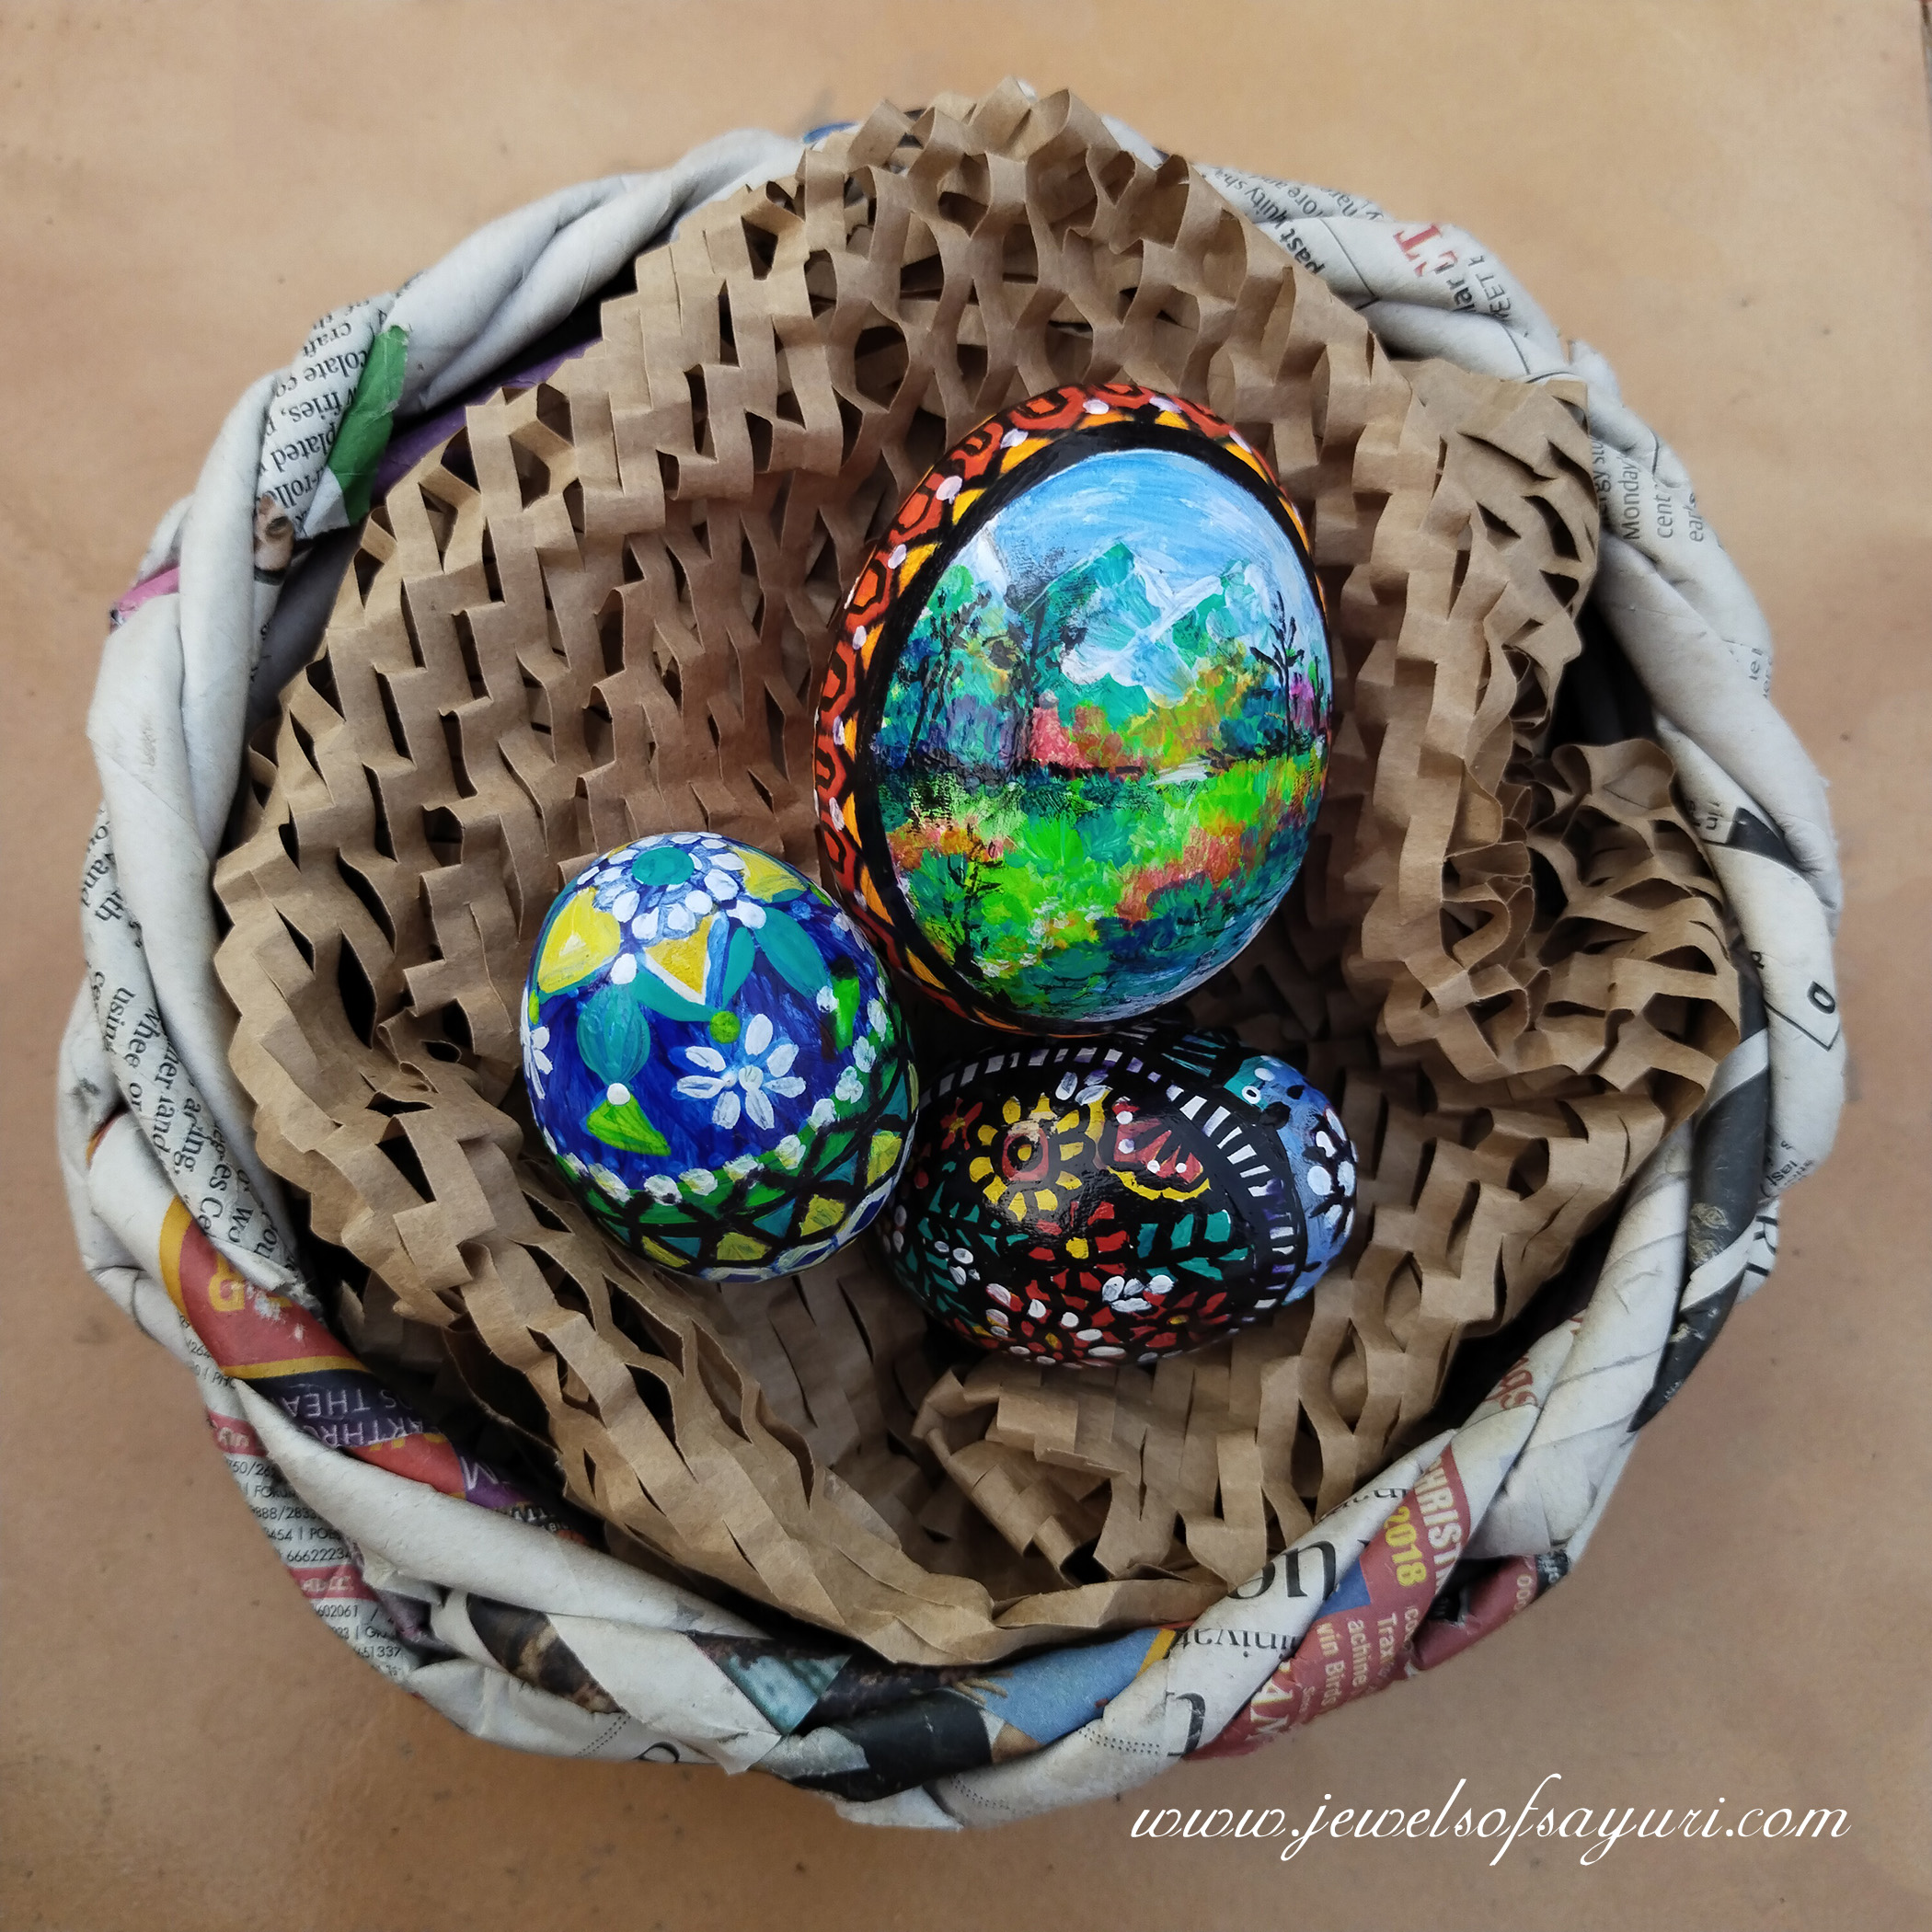
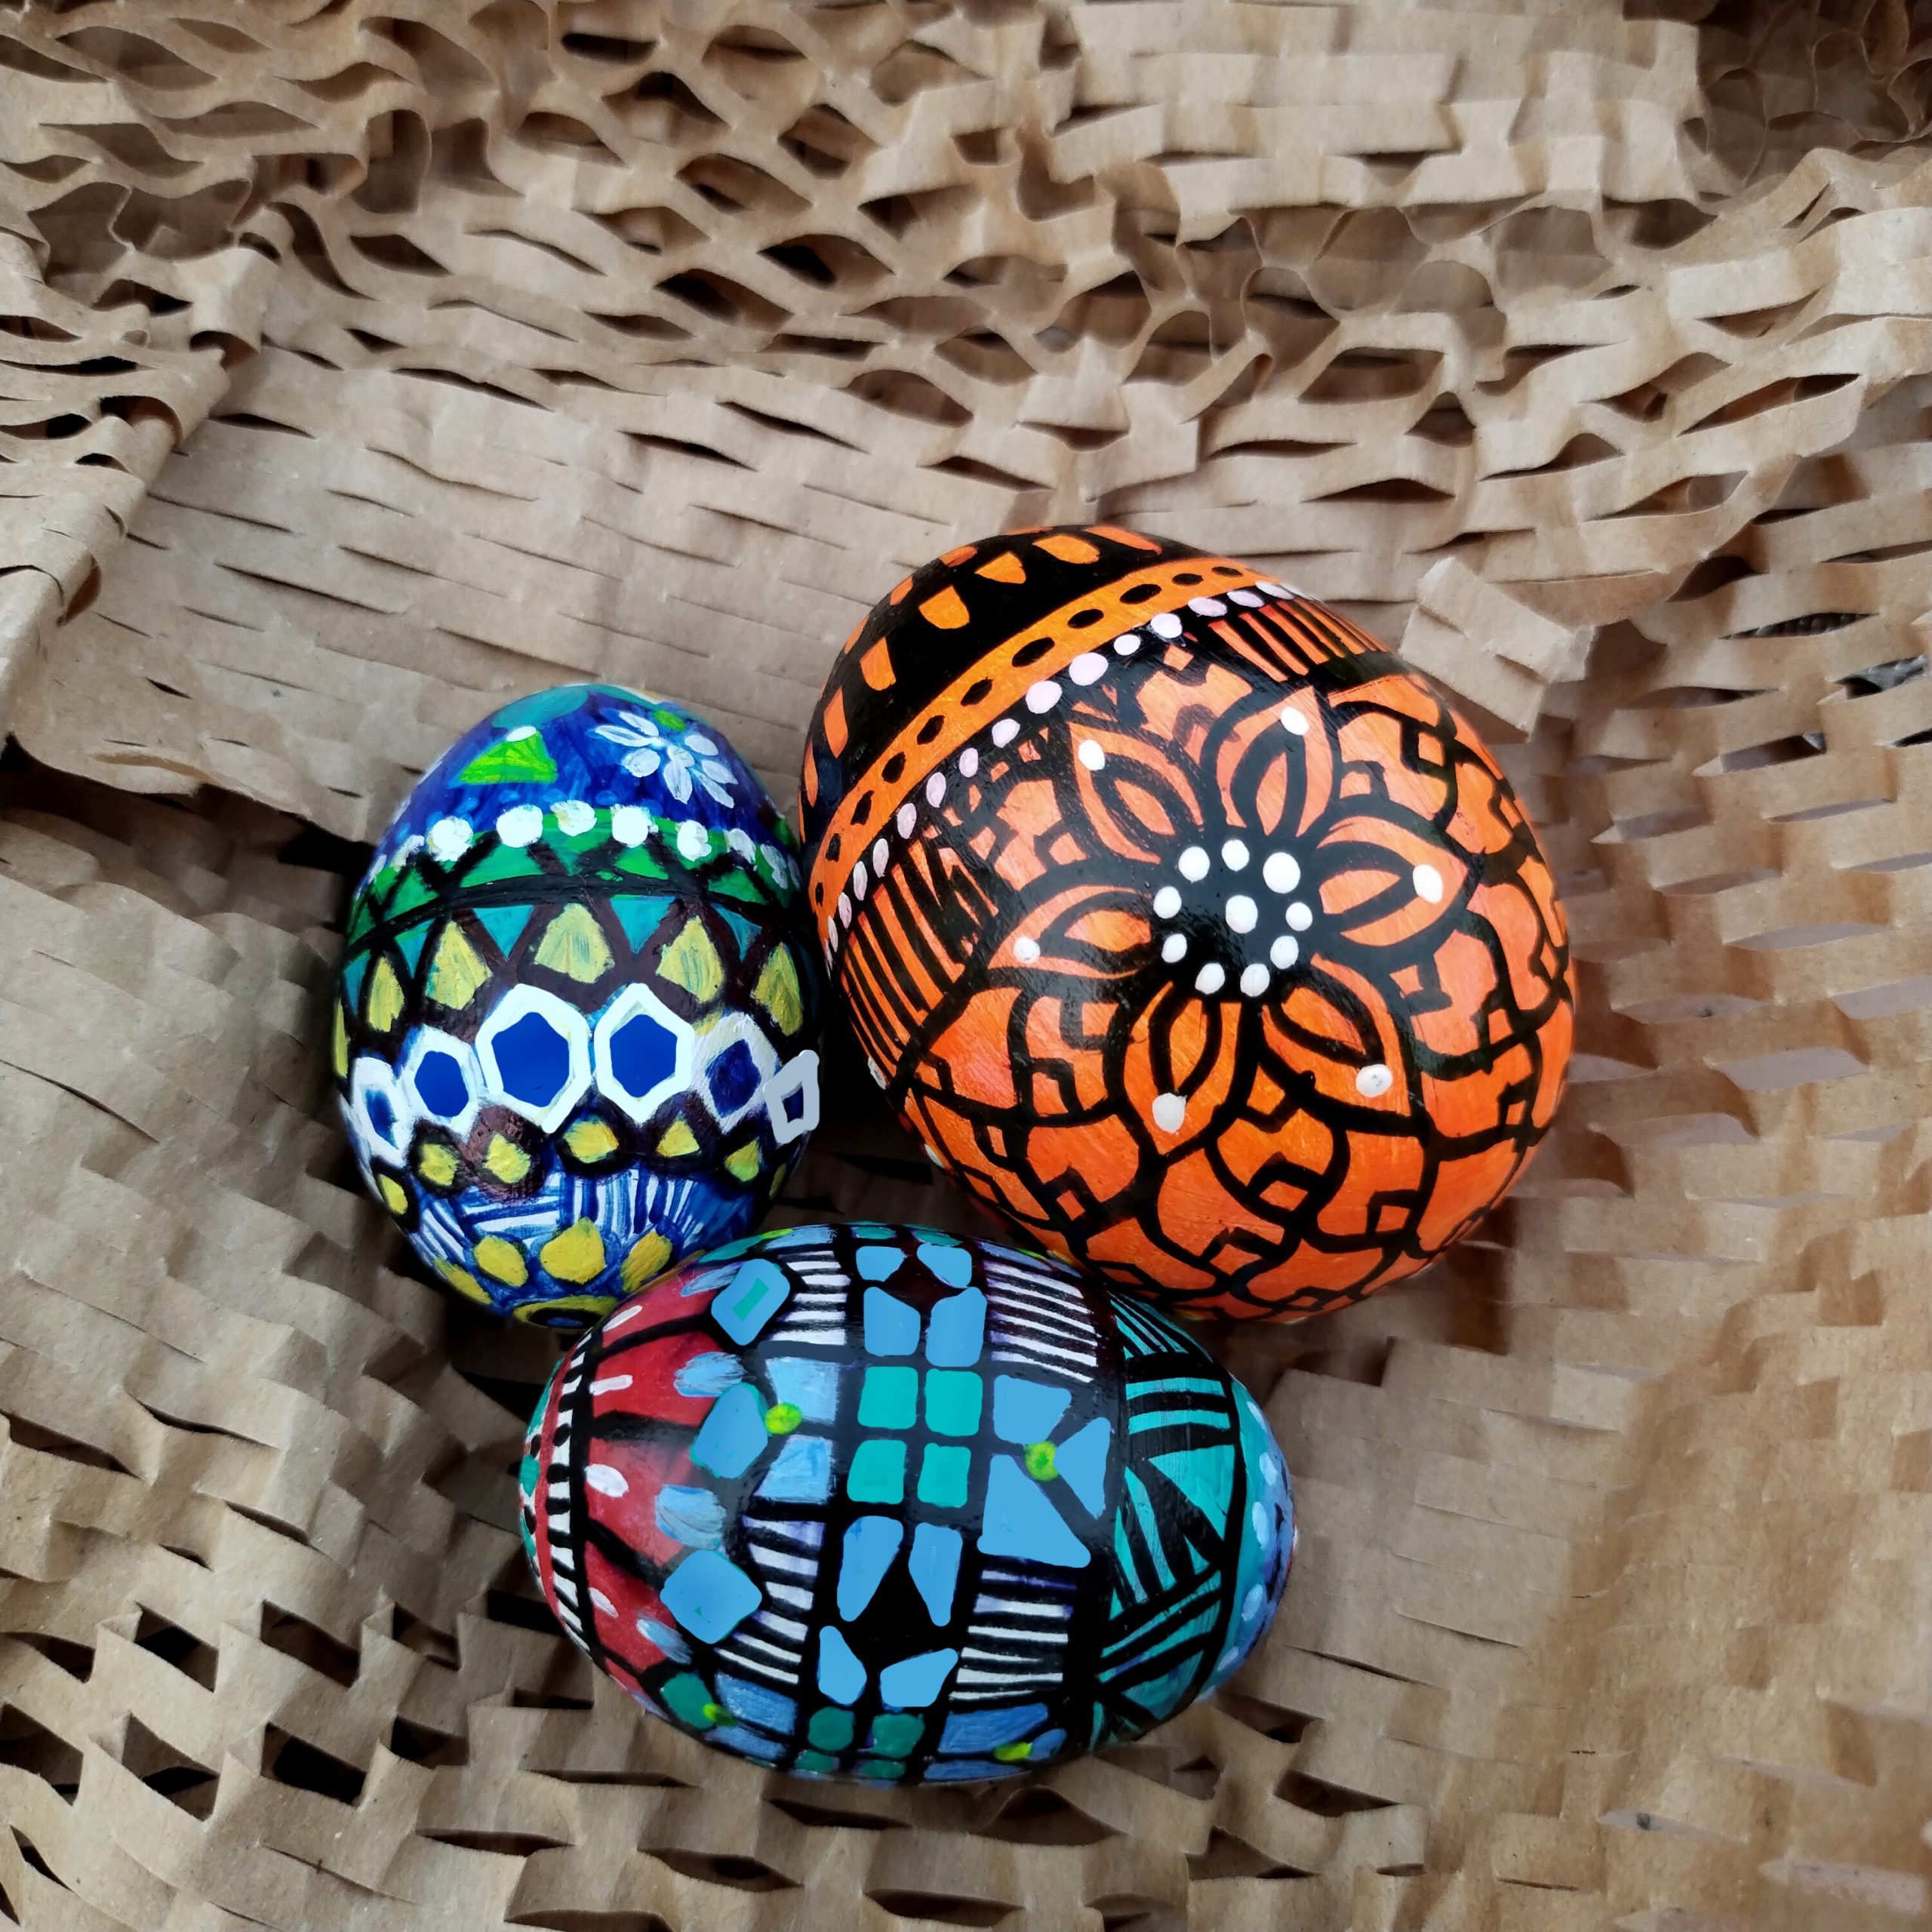
I prepared the base by coating each egg with a layer of gesso. Then, I divided each eggs into two parts. I filled one part with a focal image – a scenery, a floral bouquet and a geometrical flower. Initially, I tried sketching with pencil, but soo gave up and painted using poster and acrylic paint. After meticulously painting them for days, I sealed them with a layer of mod podge and varnished it using a spray sealant. What I did not realise what that one layer of MP was not sufficient. So when I sprayed some of the colours bled and ran and created a mess. I tried to clean it up as much as I could as you can see from the pictures.
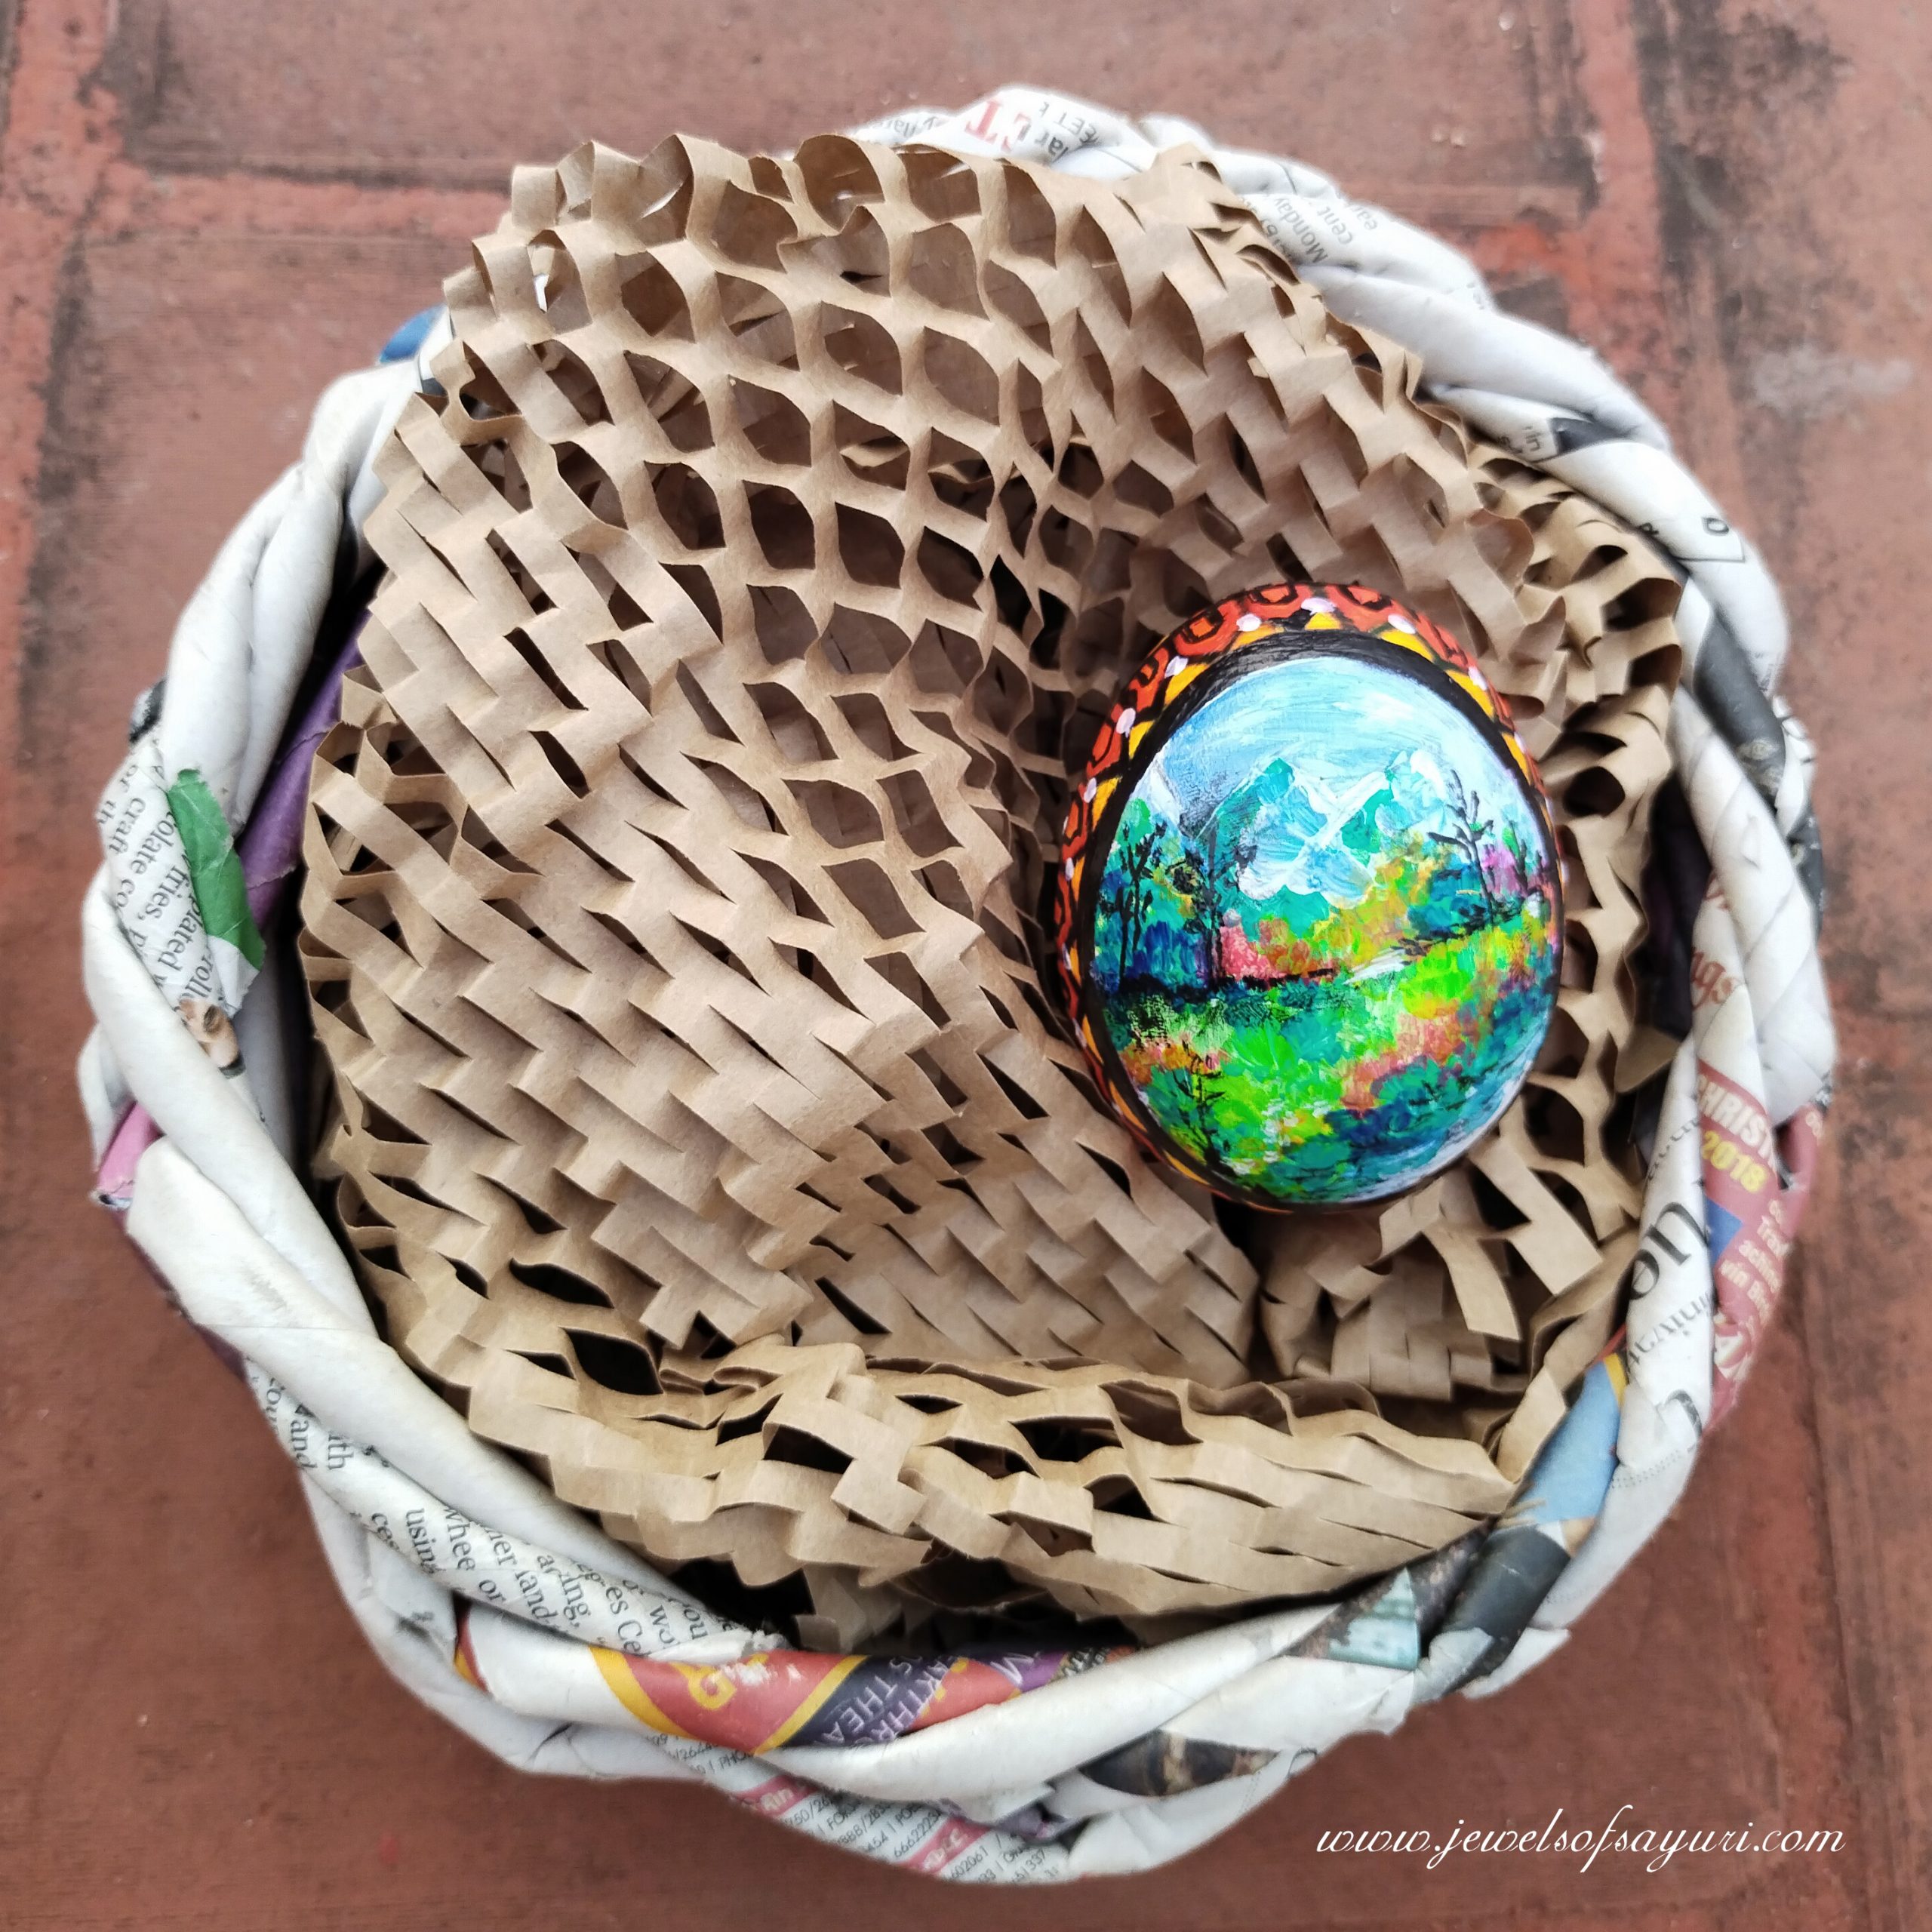
I was more careful with the orange egg, sealing it in parts and it turned out to be significantly better than the rest. The blue and black is better looking in real life. You can see the Russian art inspired flower bouquet on it in the first picture of this post. I really admire those who take great pictures of spherical/elliptical objects, The eggs were so hard to photograph as they kept rolling.
Since I have not posted any Easter crafts on this blog before and I wanted to share my Painted Easter Eggs even if they didn’t turn out perfectly. I hope to learn from my mistakes with them and create a much more good looking batch next year.
Wishing you all a Happy Easter 🙂
I hope you found it interesting
Cheers

Leave a Reply