
This Resin Arrowhead necklace tutorial was original published as the Mixed Metal Faux Gemstone Necklace on Ice resin blog. I was looking for it on the IR website and looks like the link is broken. So I thought of sharing it here with a few changes to help those who are making last minute holiday gifts. While it was written in 2015 when I was a part of the Ice resin Creative team, I feel that it is still current.
The arrowhead/crest pendant is a large bezel that can be used in a number of ways. In my tutorial, I have used it to create a funky stone. You can see the beginnings of my Riti jewellery Collection in it.

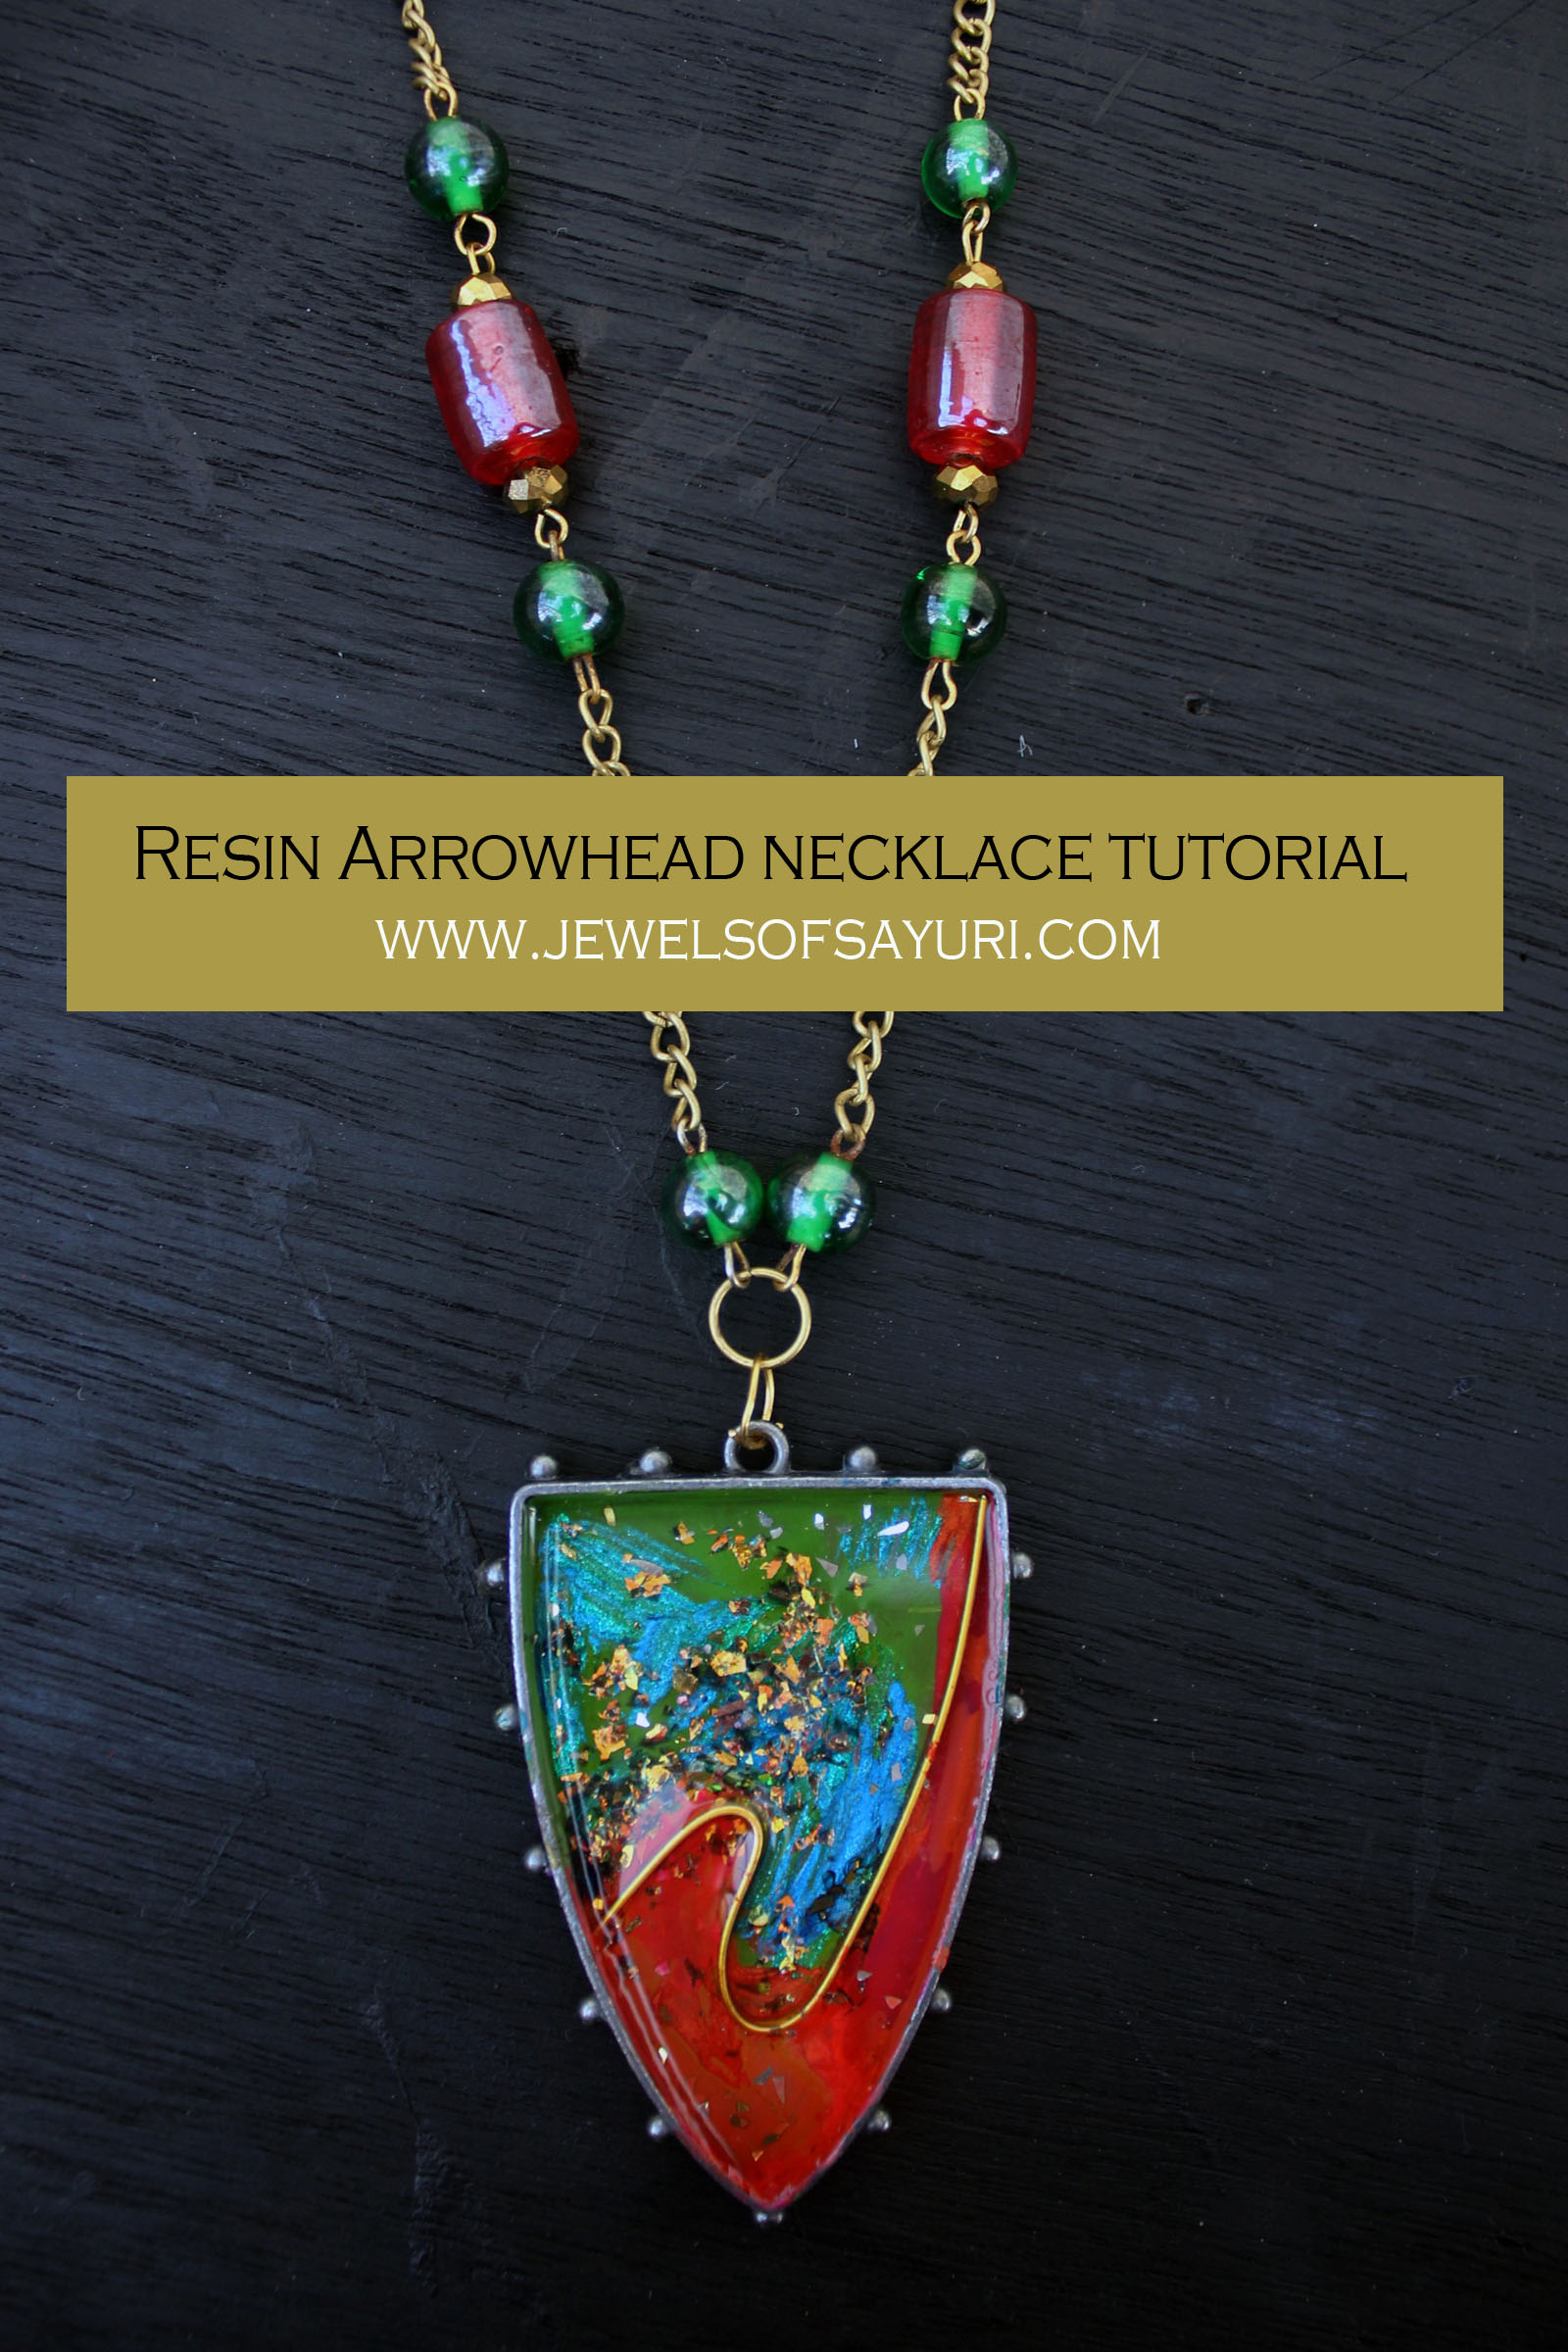
Resin Arrowhead necklace tutorial
1. Ice resin (resin – Part A & B, mixing cup, stick)
2. Hobnail Art mechanic bezel or Rune Bezel Antique silver shield
3. Flat artistic wire – gold color
4. Acrylic metallic paints in copper sulphate blue, green, orange, pink
5. Gold inclusions
6. 8mm Green glass beads – 6
7. Maroon glass cylinders – 2
8. 6mm Blue crystal rondrells – 2
9. 3mm Bronze crystals – 4
10. gold tone eyepins – 10
11. Brass link chain – 16”
12. Gold tone Jump rings -7
13. Lobster clasp – 1

Tools
1. Round Nose pliers or step pliers
2. Flat nose or chain nose pliers
3. wire cutters
4. Paint brush
5. Black sharpie marker
Method – Making the pendant
1. Cut 5” of artistic wire and using step pliers or bail pliers curve the wire such that it make partitions in the bezel when set in it. Currently the art mechanic bezel is unable on the Ice resin website, so you can use Rune bezel antique silver shield as an substitute.
2. Place the wire shape in the bezel and trace its outline with a sharpie
3. Apply dabs of acrylic paint inside the lines in the bezel to create a marbled look. Color the sides of the bezel too. Sprinkle some golden glass inclusions for shine. Let dry

4. Mix equal quantities of Part A & B in a cup as per instructions
5. Apply a thin layer of resin on one end of the wire and glue it in the bezel following the trace. Hold for a while
6. Pour resin gently on top to cover the entire bezel right till the edge of the wire, just sealing it in. Cover with a dust cover and set to dry and cure for 24 -72 hours

Method – Making the necklace
7. Loop the following beads individually with simple loop
– Green bead (6 times), bronze-maroon-bronze combo (twice), blue crystals (twice)
8. By opening and closing the loops on the beads connect them in the following pattern – one green bead followed by 2” of chain, another green bead, maroon set, green bead, 1” of chain, blue crystal and then a jump ring. Repeat to make the other side.
9. Cut the remaining chain into two and add the clasp in the center with jump rings.
10. Connect the other ends of the chain to the beads via jump rings.
11. Connect the bezel to the green beads with jump rings

This technique is very simple that it can be made even by a beginner in jewelry making with no metalsmithing or gem setting experience whatsoever. If you can handle tiny components the same technique can be used to make earrings as well. The design can be adapted to matching metals as well. Plus, Large heart shaped and Arrow head shaped pendants were spotted in Escada SS19 collection. The Trend Eclectic beauty and Etsy Maximalism supports the use of bright colours and bold patterns as well. Putting two and two together, you just might have a winning combination with this necklace. Do try making this mixed metals necklace and tell me how it goes. If you are still looking for ideas to make jewellery gifts, check out these jewellery making tutorials.

8 responses to “Resin Arrowhead necklace tutorial”
What a great tutorial, Divya! Despite my love and hate relationship with resin, I was looking through my resin playlist on YouTube these days 🙂 I love the tip about the wire. You’ve made quite a statement pendant !
Thanks Rozantia, do try it out.
Beautiful! And love the arrowhead bezel too. I’ve only used resin once (in the AE Sunflower challenge) so not really experienced with that, but wanted to say that I’d never have thought of a piece of flat wire to separate two colors! Now though, I can see all sorts of possibilities! Thanks for a great, thorough tutorial and making me a little more ‘intelligent’ today :).
Thanks Alysen. It is easier to use flat wire inside another bezel than to make a bezel using just the wire when working with resin. Do give it a try. You could also refer to my past post on resin tips and tricks if you want more guidance on working with resin.
Gorgeous, just gorgeous! I still haven’t tried working with resin, though ideas and tutorials keep piling up! Thank you for sharing! The arrow necklace is amazing!
Thanks Maya. Resin, like crochet is very addictive. Just a wee bit messier. But given your love for vintage cards and other ephemera, you would love working with resin.
What a really interesting way to use the bezel and create a sort of art in it. I love the idea of using the wire to divide the colors. Very cool!
Thanks Hope. I am glad that you like it