
With Christmas carols in the air and halls decked with holly buntings and serial lights, the holiday season arrives gallantly. Whether you are attending holiday get togethers at your apartment complex or having a festive lunch a work, you do need a bit of dazzle to glam up your look. To help you easily transform your look from day to night, I present my DIY Opal Rhinestone Earrings.
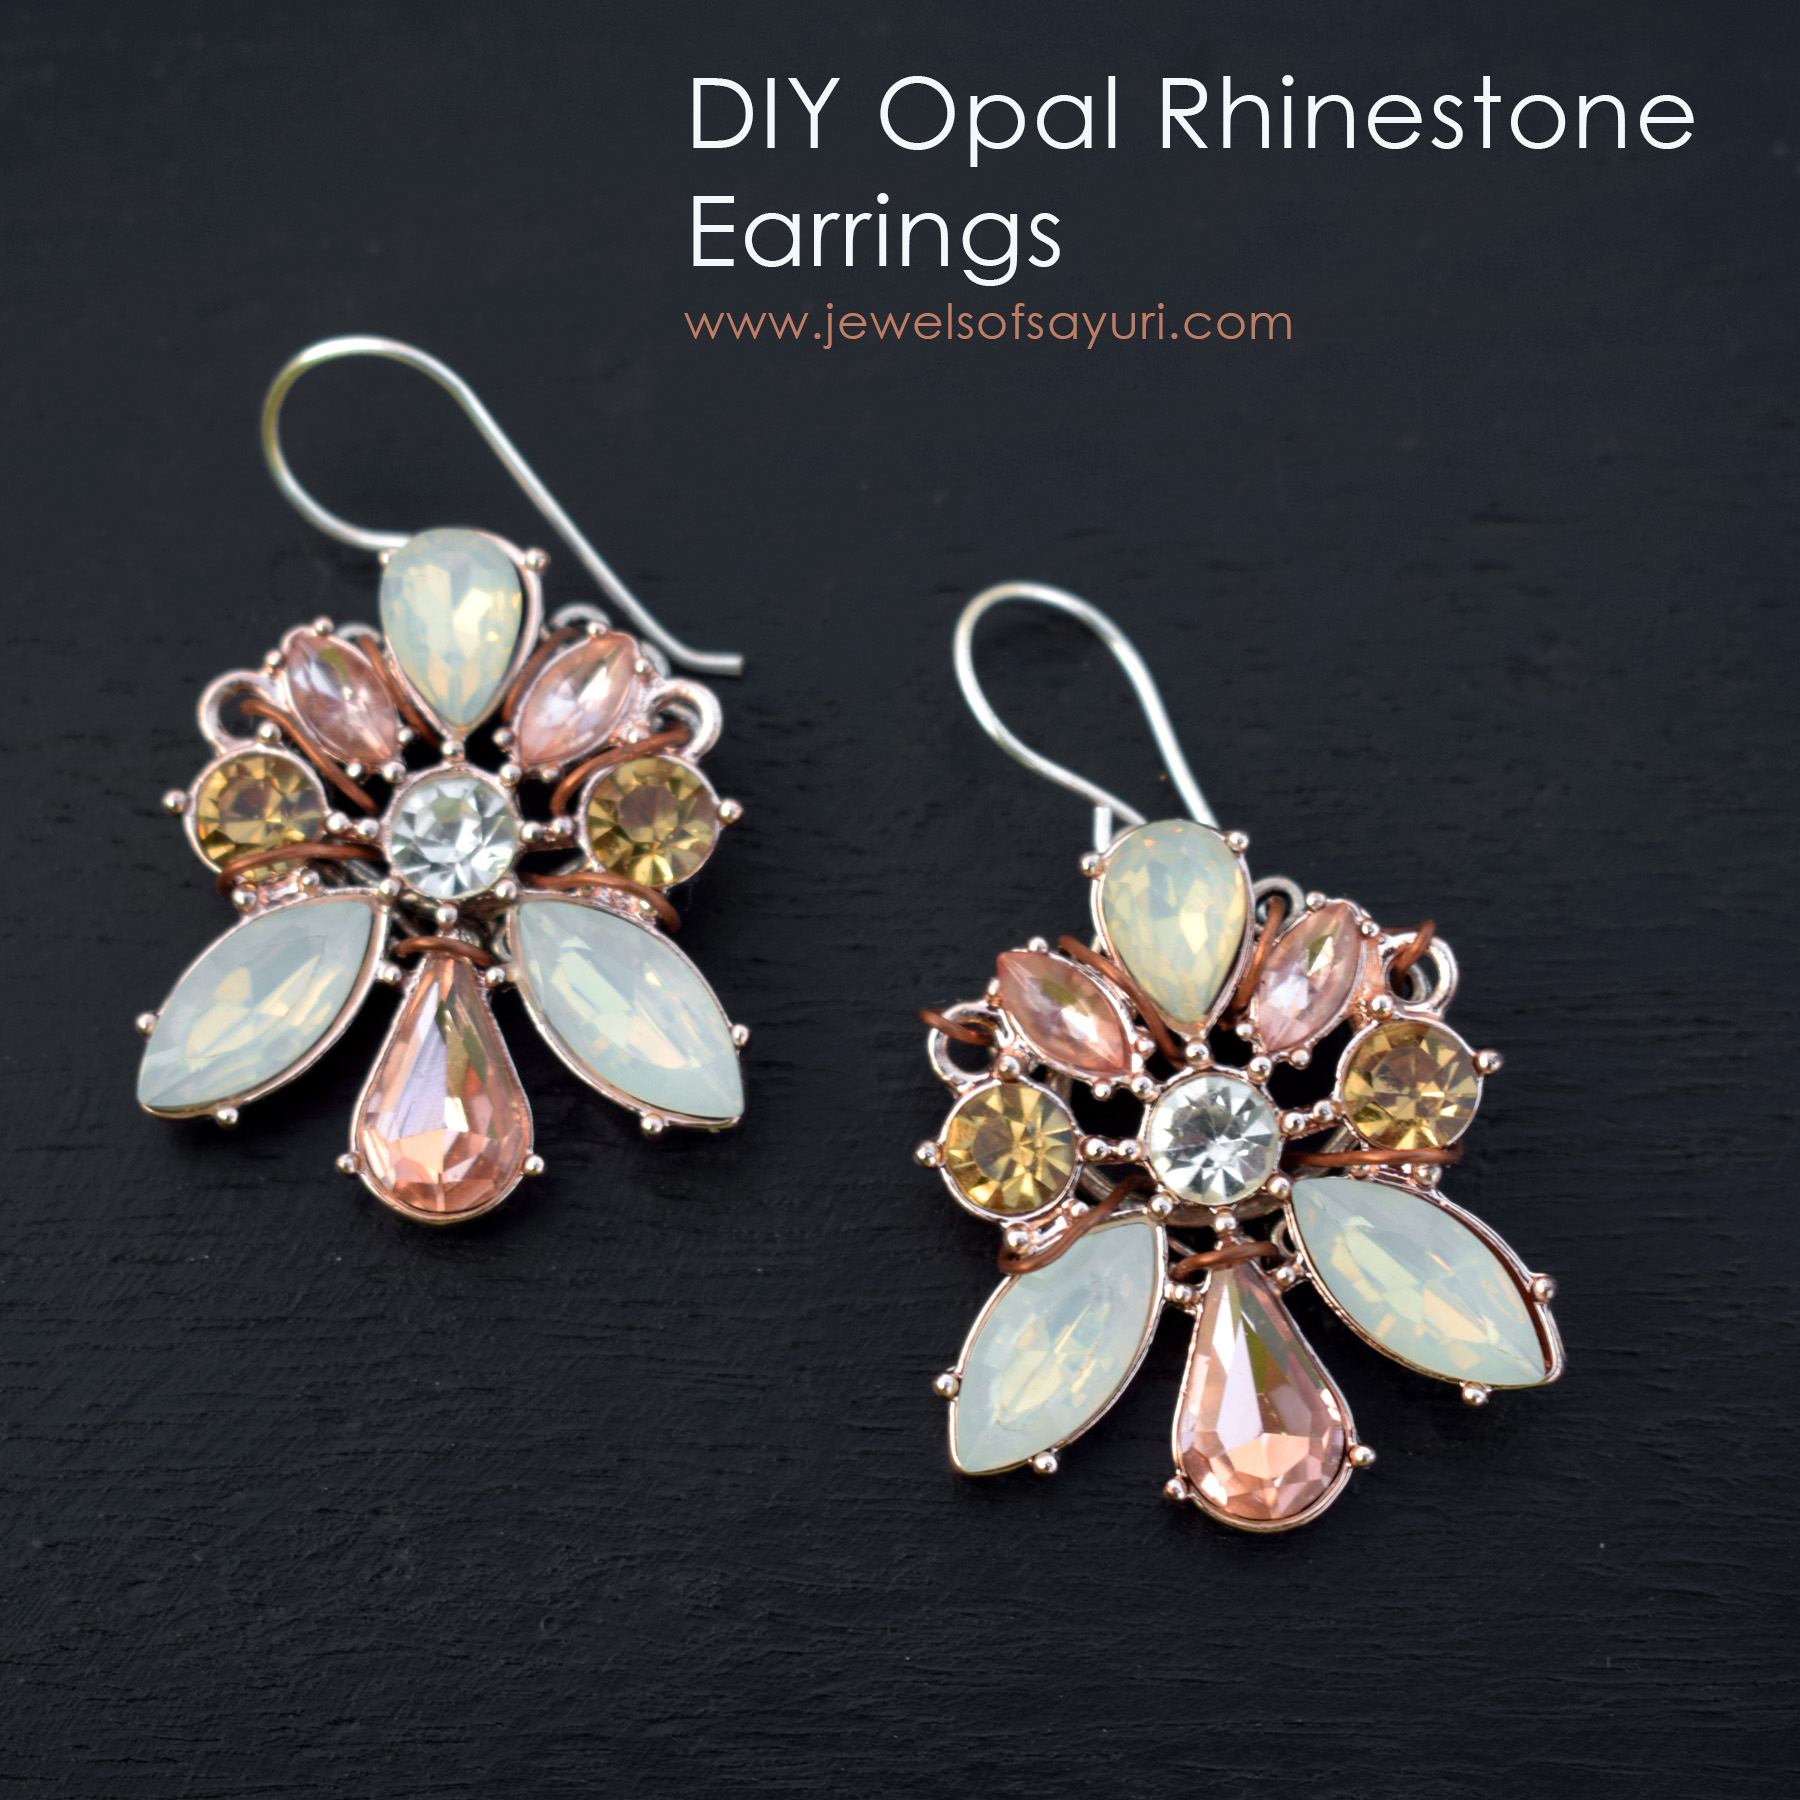
DIY Opal Rhinestone Earrings
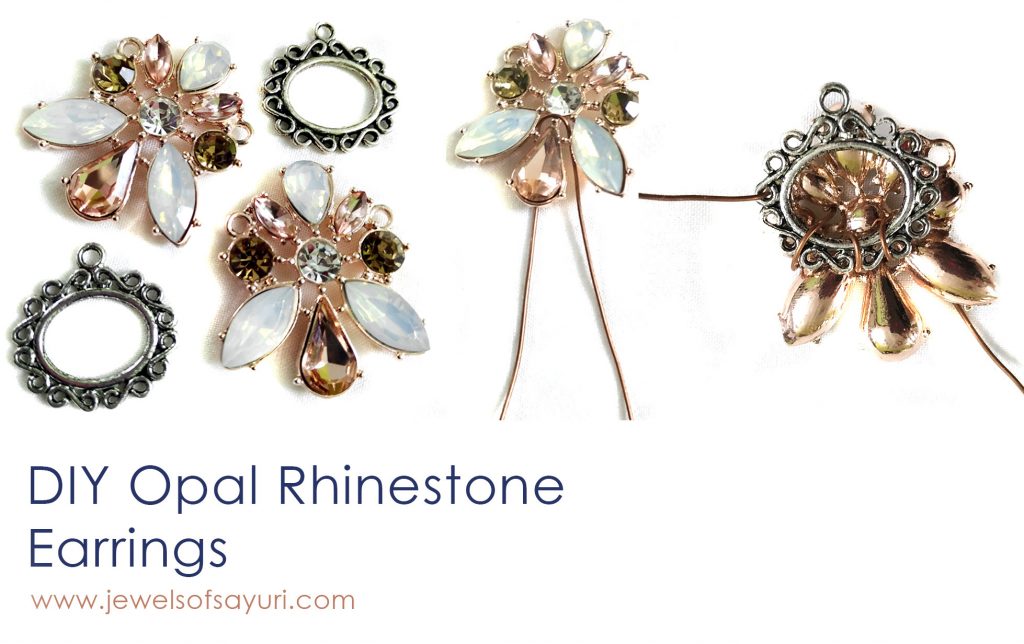
This pair of earrings began as a refashion project. I bought a necklace of rhinestone connectors at a local store. It had 3 floral connectors (two of which I used in these earrings) and two geometric peach stone connectors that I hope to use in a future project. While I bought the necklace with the aim of dismantling it, it was challenging to figure out how to convert the connectors to earrings as they did not have a loop or hole at the top. I figured out the method that I am going to show you after some trial and error. Hence, I used materials like wire and a toggle clasp that I already had. That is why, the components are all in different colours and materials. Please feel free to substitute it with a suitable component that you have.
Materials
- Opal Rhinestone connectors – 2
- Silver tone/copper/rose gold – toggle clasp loop or connector – 2
- copper wire – 20g – 12 inches
- Artistic wire in silver or rose gold – 20g -5 inches
- Tools – Nose pliers, step nose pliers, wire cutter
Method
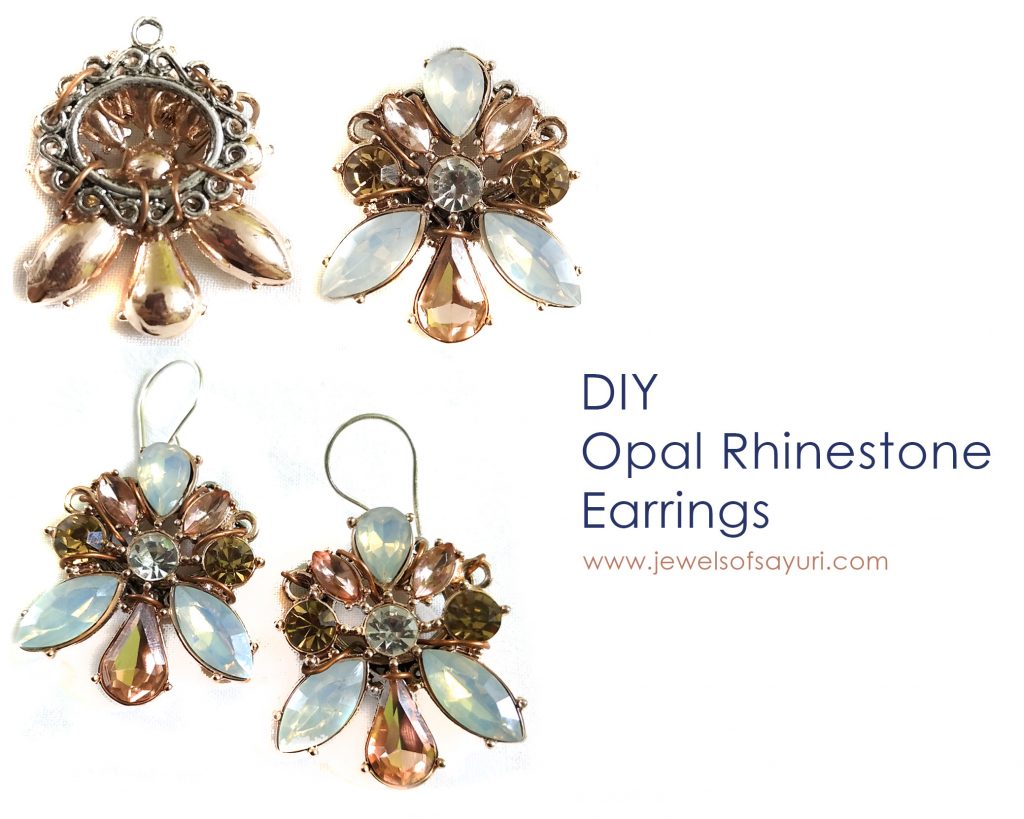
Pick a filigree connector as your earring base to reduce the weight of the finished earrings. Cut two pieces of six wire, straighten, and fold in the center. Insert it into the connector as shown. Place the toggle at the back, with the loop on the top. Wrap it to the connector using wire, one side at a time.
While wrapping, try to go in and out of the connectors in an unobtrusive manner (as much as possible). The less the wrapped wire is seen from the front, the better. Once you have finished both sides, fold and tuck any wire into the space between the connector and the toggle. Repeat the process to make the second earring. Add hooks or stud to complete the earrings.
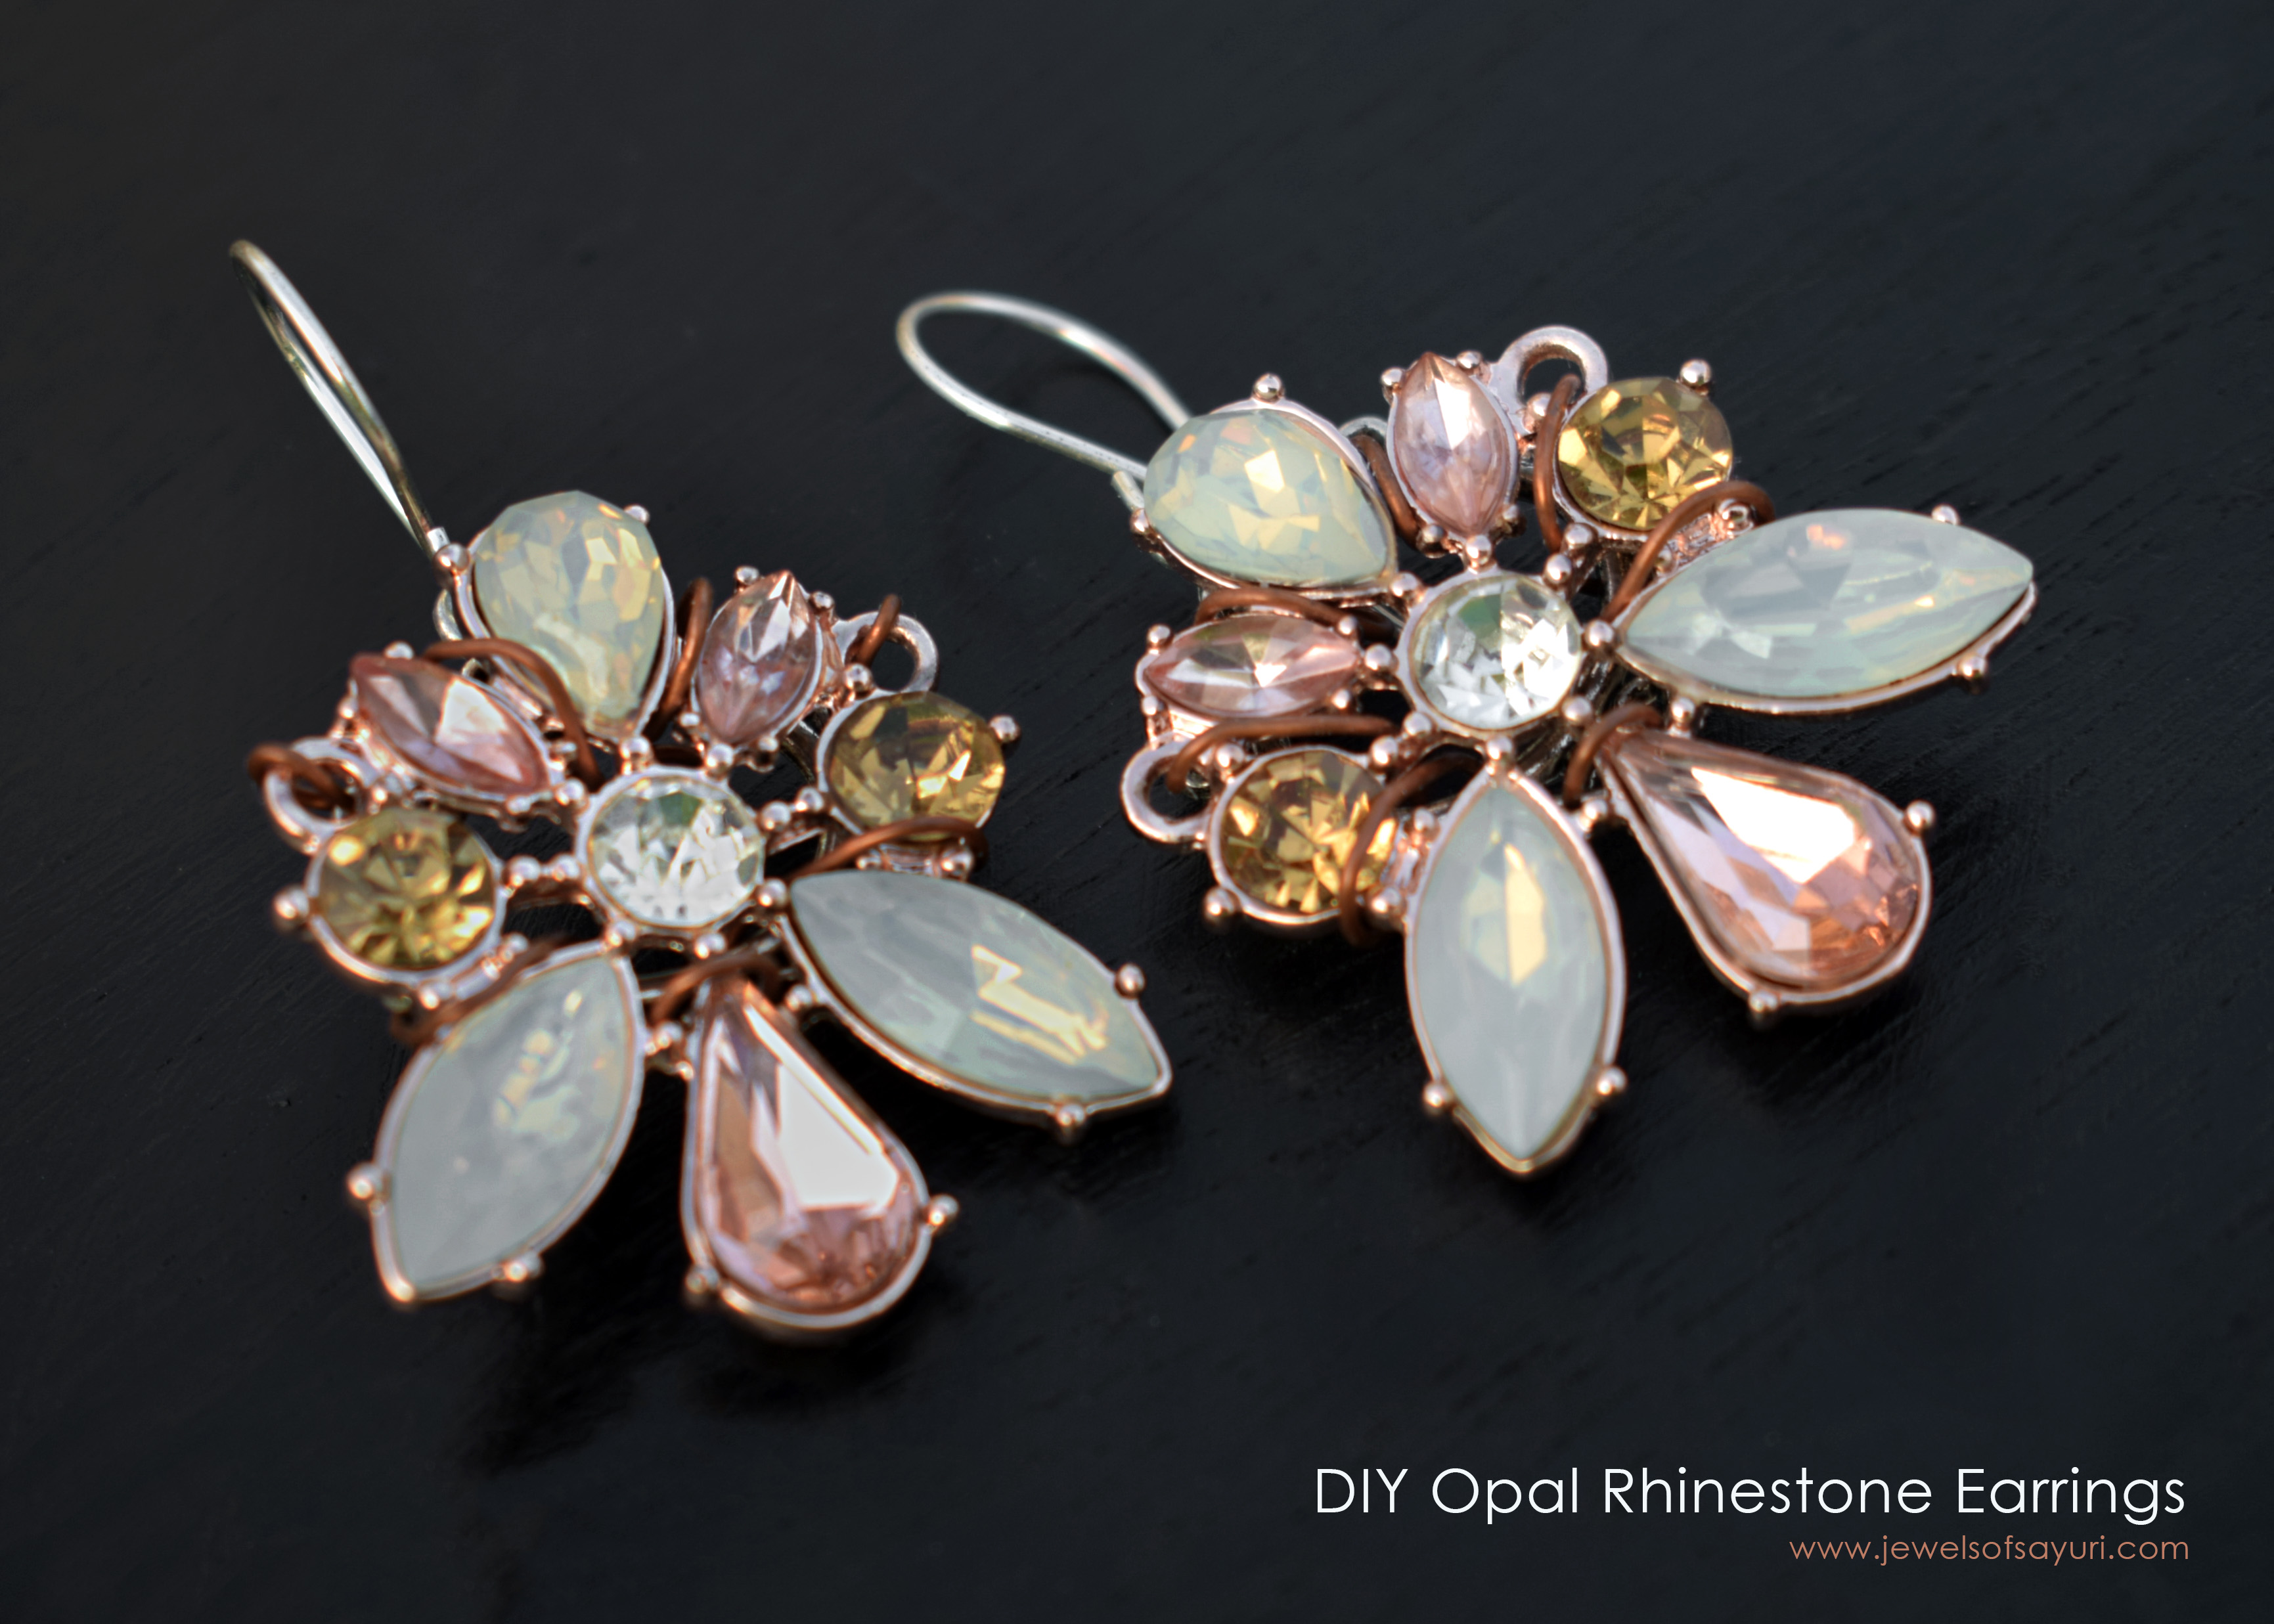
I wanted my DIY Opal Rhinestone Earrings to hang straight without flopping. This happens if the earrings are too heavy for your ears. So I made my earhooks close to the ear in such a way that the earlobe could support a bit of the stone connector as well. Instead of using a connector like me, you have use a pair of filigree studs and wire wrap the connector to them. It may make the job even more easier.
I hope you enjoyed reading this tutorial for blingy Rhinestone jewellery. If you have more ideas on refashioning connectors into other jewellery items please do share in the comments box. In the meanwhile, here are some more tutorials for you to help with your holiday crafting.

Leave a Reply